A new kind of color picker - built with React & TypeScript

emilwidlund
Introduction
This article was written as a "behind the scenes" of my very appreciated launch of "Harmony - A new kind of color picker".
Have you ever thought about color combinations – the way certain colors complement each other beautifully while others don't? That's something I'd like to deep dive into in todays post - by building a color picker which produces harmonic color combinations automatically.
Color harmonies refer to combinations of colors that are visually pleasing and work well together. These combinations are based on the color wheel, a circular diagram of colors arranged by their chromatic relationship. Color harmonies are essential in various fields such as art, design, and fashion, as they help create aesthetically pleasing and balanced compositions. There are several types of color harmonies, including:
- Analogous Harmony: Colors that are next to each other on the color wheel. For example, blue, blue-green, and green.
- Complementary Harmony: Colors that are opposite each other on the color wheel. These combinations create high contrast and can be visually striking. For example, red and green, or blue and orange.
- Triadic Harmony: Three colors evenly spaced around the color wheel. For example, red, yellow, and blue.
- Tetradic (Double-Complementary) Harmony: Four colors, in the form of two complementary color pairs. This provides a rich color palette but can be challenging to balance.
- Square Harmony: Four colors evenly spaced around the color wheel. This is similar to the tetradic harmony but with less contrast.
Understanding color models
Color models are different ways of representing color. The RGB model is probably the most familiar, and represents a certain color using a red, green & blue channel. There are however a bunch off different ways to represent color, each with advantages over others.
HSV
I've decided to go with the HSV color model for this tutorial. It's far from the best, but it's simple enough to illustrate key differences between a hue-based model and a channel-based model like RGB. HSV stands for:
- Hue: A value between 0 and 360, measured in degrees.
- Saturation: The purity of the color, measured on a scale from 0% to 100%.
- Value/Brightness: Brightness of the color on a scale from 0% to 100%.
The main advantage for HSV over RGB is the intuitive way to manipulate the hue. As we're interested in computing harmonic color combinations, we basically just need to rotate the hue some amount to calculate the harmonic relationships.
Computing color combinations
- Analogous Harmony: Rotate hue -/+ 30 degrees.
- Complementary Harmony: Rotate hue -/+ 180 degrees.
- Triadic Harmony: Sample hues at -/+ 120 degrees & -/+ 240 degrees respectively.
- Square Harmony: Sample hues at -/+ 90 degrees, -/+ 180 degrees respectively & -/+ 270 degrees.
As you can see, using the HSV color model, we can very easily compute harmonic color combinations. That's why HSV is better than RGB for this use case. But we can still of course convert between HSV and RGB at any given time.
Wonderful! With that out of the way, let's dive into some code. We need to construct a Color picker component. I've chosen React as the framework of choice for this particular tutorial. Let's dive in.
Building the Color Wheel

To build a color wheel, we need a way to construct a circular shape with unique colors assigned to every pixel. The Canvas API will be our friend for this.
Let's start by creating a simple React component.
interface HSVModel {
    hue: number;
    saturation: number;
    value: number;
}

interface ColorWheelProps {
    radius: number;
    harmony: string;
    onChange: (harmonies: HSVModel[]) => void;
}

const ColorWheel = ({radius, harmony: harmonyName, onChange}: ColorWheelProps) => {
    const ref = useRef<HTMLCanvasElement>(null);

    return <canvas ref={ref} width={radius * 2} height={radius * 2} />;
}
We will need a few conversion utilities to perform calculations between RGB & HSV, and cartesian & polar coordinate systems.
export const xy2polar = (x: number, y: number): [number, number] => {
    let r = Math.sqrt(x * x + y * y);
    let phi = Math.atan2(y, x);
    return [r, phi];
}

export const polar2xy = (r: number, phi: number): [number, number] => {
    let x = r * Math.cos(phi);
    let y = r * Math.sin(phi);
    return [x, y];
}

export const rad2deg = (rad: number) => {
    return ((rad + Math.PI) / (2 * Math.PI)) * 360;
}

export const deg2rad = (hue: number) => {
    return hue * (Math.PI / 180);
}

// hue in range [0, 360]
// saturation, value in range [0,1]
// return [r,g,b] each in range [0,255]
// See: https://en.wikipedia.org/wiki/HSL_and_HSV#From_HSV
export const hsv2rgb = (hue: number, saturation: number, value: number): [number, number, number] => {
    let chroma = value * saturation;
    let hue1 = hue / 60;
    let x = chroma * (1 - Math.abs((hue1 % 2) - 1));
    let r1: number = 0,
        g1: number = 0,
        b1: number = 0;
    if (hue1 >= 0 && hue1 <= 1) {
        [r1, g1, b1] = [chroma, x, 0];
    } else if (hue1 >= 1 && hue1 <= 2) {
        [r1, g1, b1] = [x, chroma, 0];
    } else if (hue1 >= 2 && hue1 <= 3) {
        [r1, g1, b1] = [0, chroma, x];
    } else if (hue1 >= 3 && hue1 <= 4) {
        [r1, g1, b1] = [0, x, chroma];
    } else if (hue1 >= 4 && hue1 <= 5) {
        [r1, g1, b1] = [x, 0, chroma];
    } else if (hue1 >= 5 && hue1 <= 6) {
        [r1, g1, b1] = [chroma, 0, x];
    }

    let m = value - chroma;
    let [r, g, b] = [r1 + m, g1 + m, b1 + m];

    // Change r,g,b values from [0,1] to [0,255]
    return [255 * r, 255 * g, 255 * b];
}

export const xy2rgb = (x: number, y: number, radius: number) => {
    x -= radius;
    y -= radius;

    const [r, phi] = xy2polar(x, y);

    const hue = rad2deg(phi);
    const saturation = r / radius;
    const value = 1.0;

    return hsv2rgb(hue, saturation, value);
}

export const hsv2xy = (hue: number, saturation: number, value: number, radius: number) => {
    const adjustedHue = hue - 180;
    const [r, phi] = polar2xy(radius * saturation, deg2rad(adjustedHue));
    return {
        x: r + radius,
        y: phi + radius
    }
}
Next up, we'll create a drawCircle function which will use the canvas context to create a color wheel.
const drawCircle = useCallback((ctx: CanvasRenderingContext2D) => {
    let image = ctx.createImageData(2 * radius, 2 * radius);
    let data = image.data;

    for (let x = -radius; x < radius; x++) {
        for (let y = -radius; y < radius; y++) {
            let [r, phi] = xy2polar(x, y);

            let deg = rad2deg(phi);

            // Figure out the starting index of this pixel in the image data array.
            let rowLength = 2 * radius;
            let adjustedX = x + radius; // convert x from [-50, 50] to [0, 100] (the coordinates of the image data array)
            let adjustedY = y + radius; // convert y from [-50, 50] to [0, 100] (the coordinates of the image data array)
            let pixelWidth = 4; // each pixel requires 4 slots in the data array
            let index = (adjustedX + adjustedY * rowLength) * pixelWidth;

            let hue = deg;
            let saturation = r / radius;
            let value = 1.0;

            let [red, green, blue] = hsv2rgb(hue, saturation, value);
            let alpha = 255;

            data[index] = red;
            data[index + 1] = green;
            data[index + 2] = blue;
            data[index + 3] = alpha;
        }
    }

    ctx.putImageData(image, 0, 0);
}, [radius])
We can now call the drawCircle function to get some magic happen on our canvas.
useEffect(() => {
    if (!ref.current) return;

    const ctx = ref.current.getContext('2d');

    if (!ctx) return;

    drawCircle(ctx);
}, [])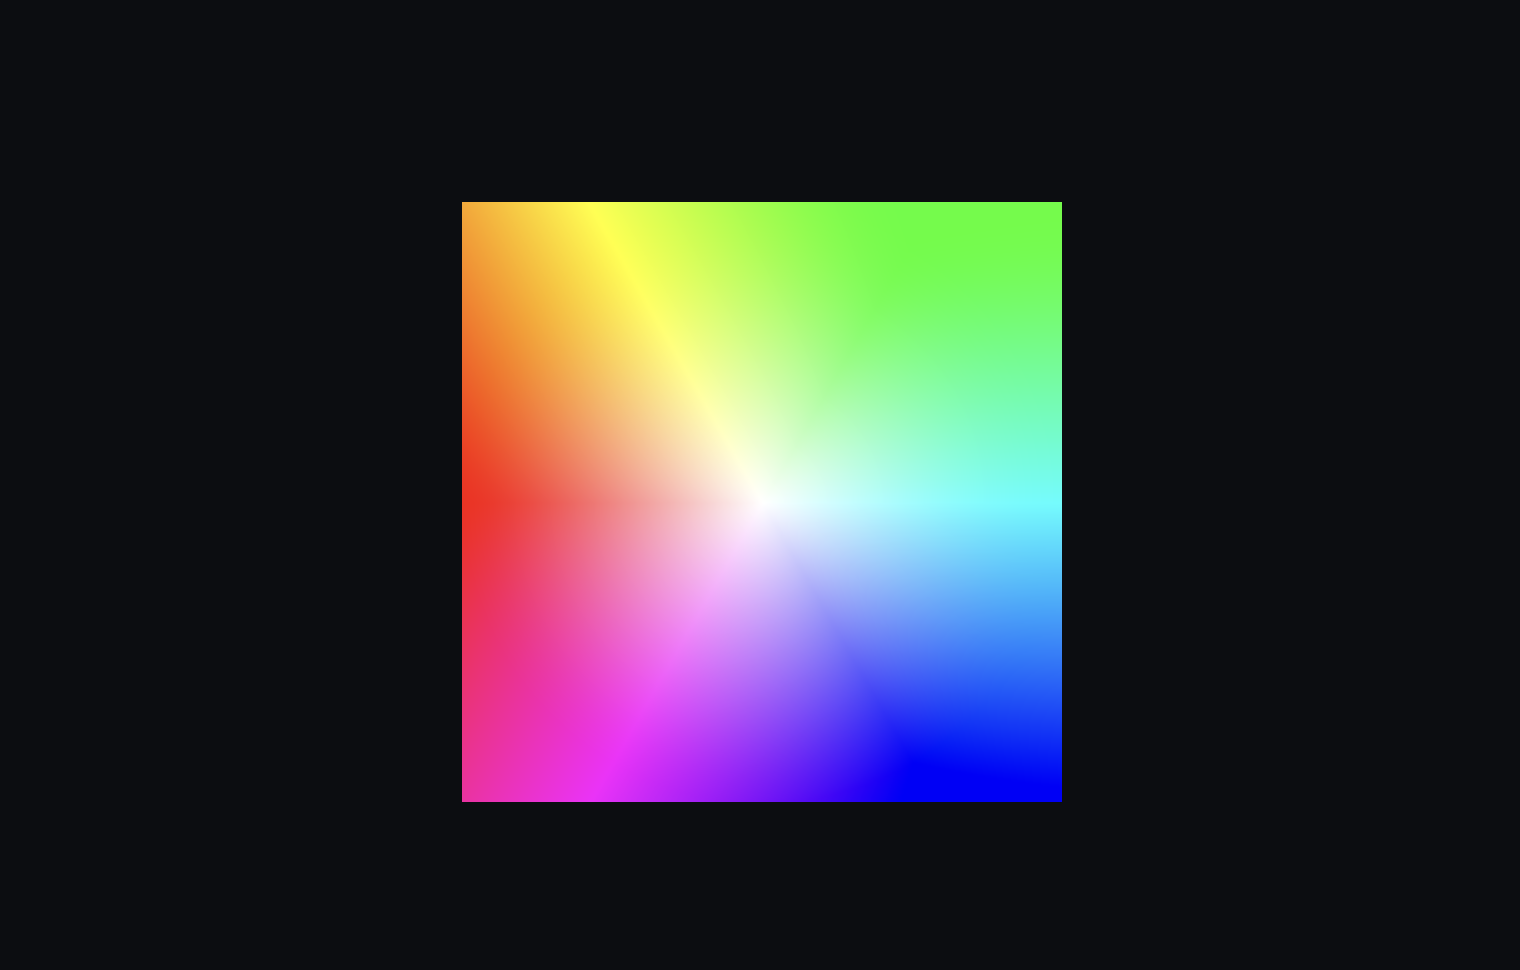
If you run this, you'll see that we get a square instead of a circular color wheel. To fix this, we can add a simple check to drawCircle like this:
...
let [r, phi] = xy2polar(x, y);
if (r > radius) continue;
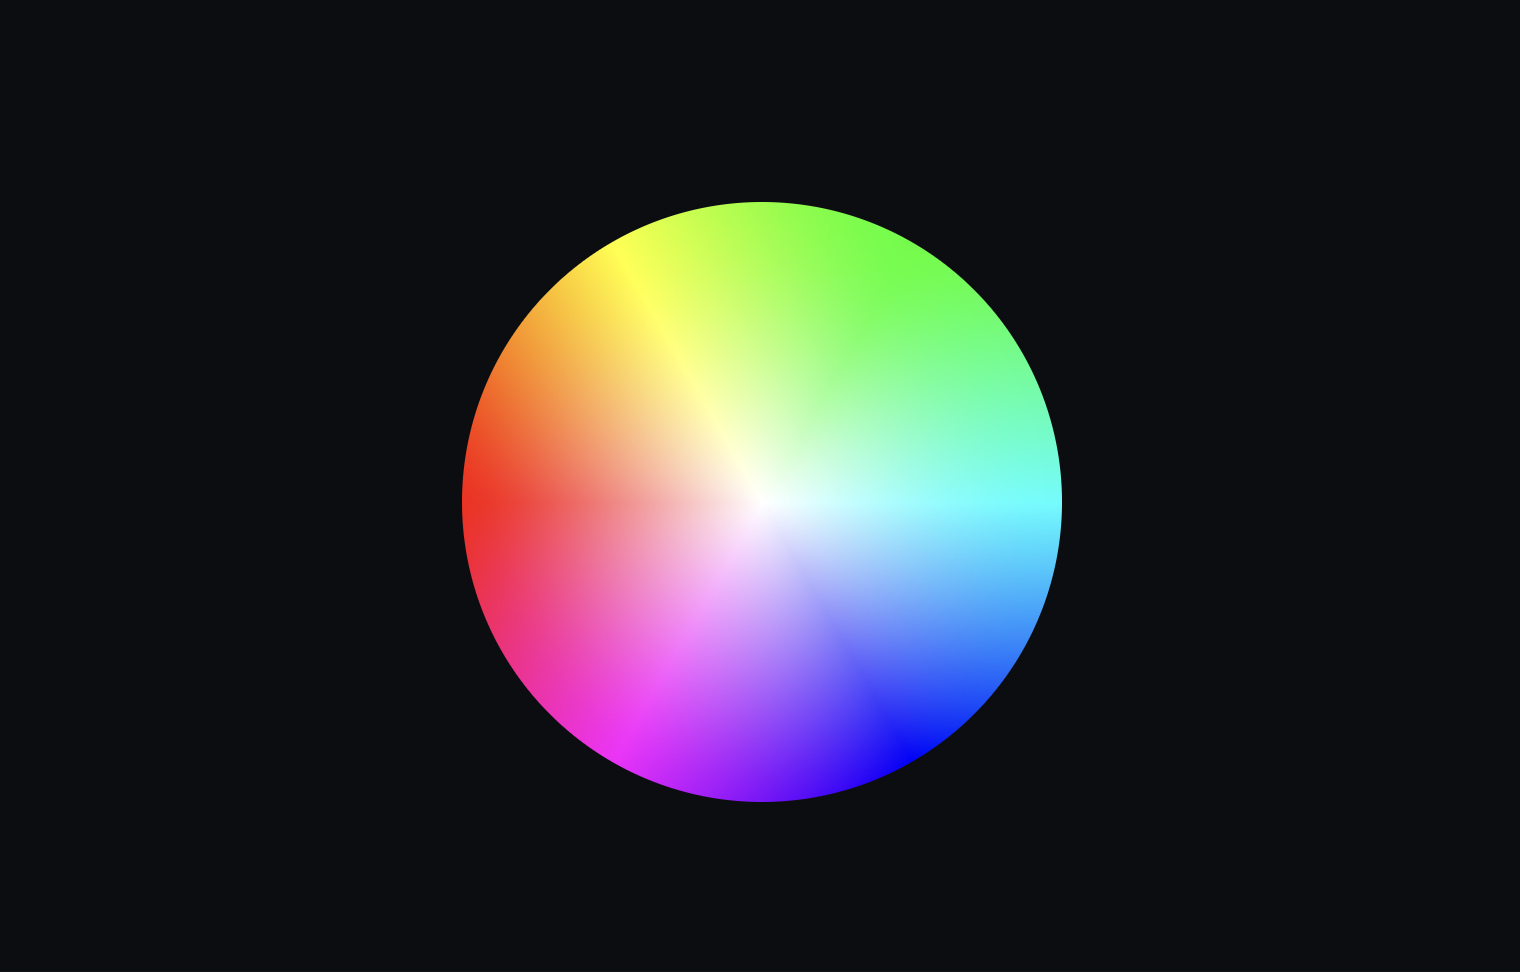
...I would however advice against doing this - because it will produce a circle with quite jagged edges due to a lack of antialiasing. My preferred way is instead to make a square, and add a high border radius to the canvas element instead. That won't produce ugly edges.
<canvas ref={ref} style={{borderRadius: '999px'}} width={radius * 2} height={radius * 2} />;This should yield us a nice, circular Color Wheel.
Creating a draggable picker
Now we need an element within the color wheel that we can use to pick a color. I like to use the react-draggable package for draggable elements. Make sure to also install the TypeScript types available from the @types/react-draggable package.
It's quite straight forward. Let's wrap our canvas element in a parent <div /> which can hold our color wheel and draggable element.
<div
    style={{
        // This is important to keep the absolute positioned draggable in relative position to this wrapper
        position: "relative"
    }}
>
    <canvas ref={ref} width={radius * 2} height={radius * 2} />
    <Draggable defaultPosition={{x: 0, y: radius}}>
        <div
            style={{
                display: "flex",
                flexDirection: 'column',
                justifyContent: 'center',
                alignItems: 'center',
                position: 'absolute',
                top: "-12px",
                left: "-12px",
                width: "24px",
                height: "24px",
                borderRadius: "99px",
                border: "2px solid rgba(255, 255, 255, 1)",
                backgroundColor: `rgb(${r}, ${g}, ${b})`,
                boxShadow: "0 0 0 1px rgba(0, 0, 0, 0.05)",
            }}
        >
            <div
                    style={{
                        position: 'absolute',
                        width: "4px",
                        height: "4px",
                        borderRadius: "99px",
                        backgroundColor: '#fff',
                    }}
            />
        </div>
    </Draggable>
</div>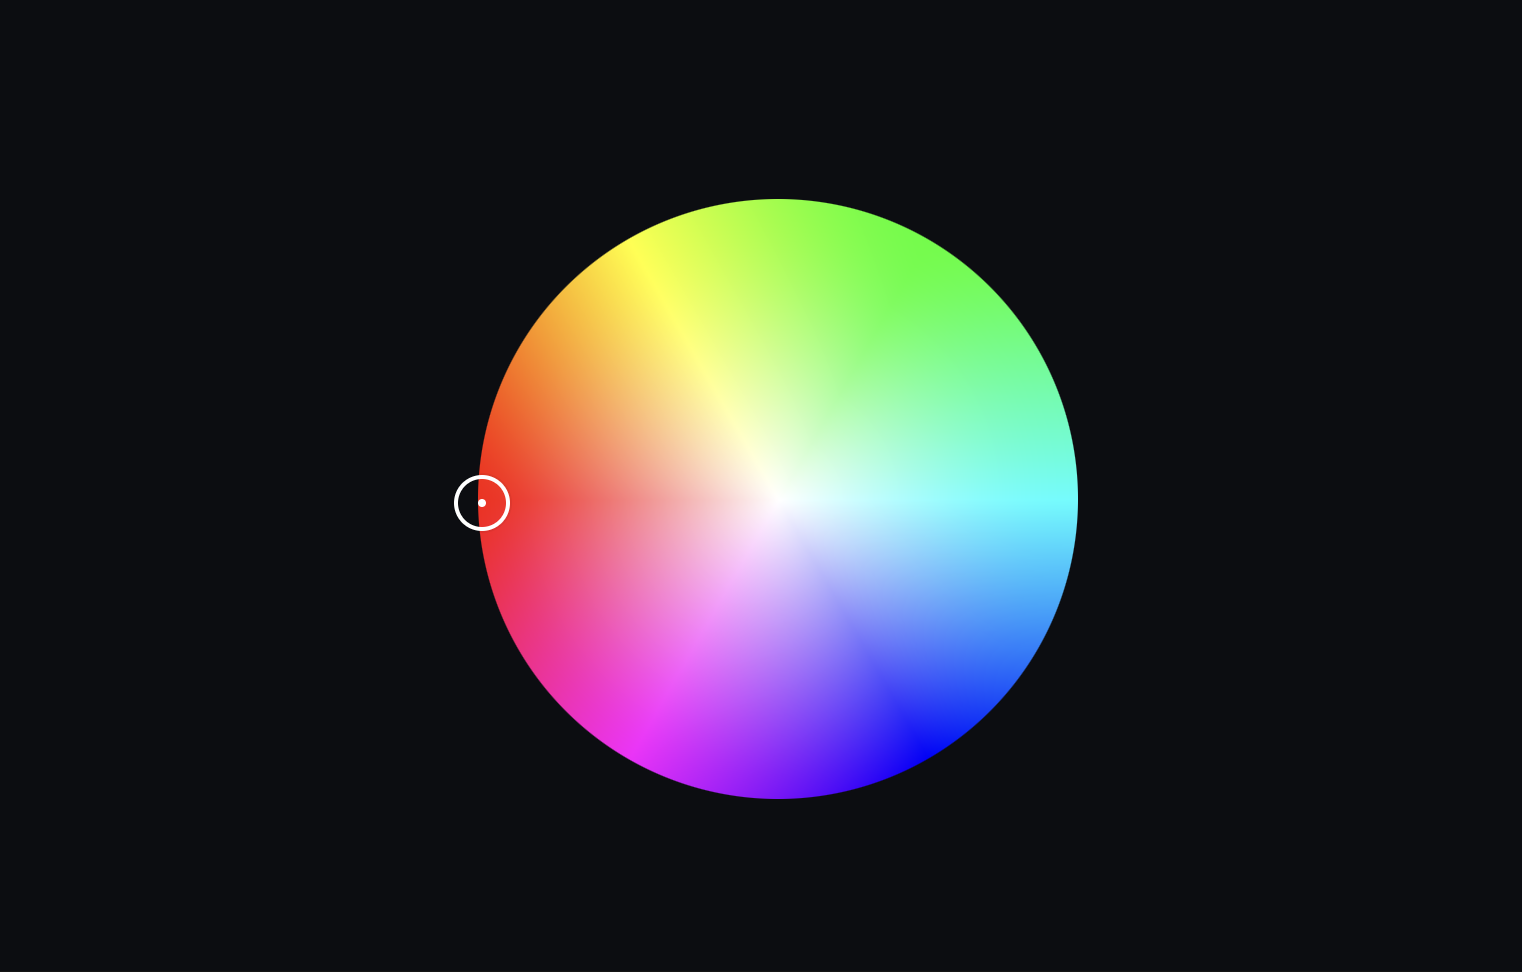
Nice! Now we have something to drag around! However, it would be nice if we could restrict this draggable to only be dragged within the bounds of the circle, and keep track of its position. Let's define a handleDrag handler which takes care of the bounds problem.
...
const [position, setPosition] = useState<{x: number; y: number;}>({x: 0, y: radius})

const handleDrag: DraggableEventHandler = useCallback((e, data) => {
    if (!ref.current) return;

    e.stopPropagation()
    e.preventDefault()

    let [r, phi] = xy2polar(data.x - radius, data.y - radius);
    // Limit radial distance to radius
    r = Math.min(r, radius);
    const [x, y] = polar2xy(r, phi);
    setPosition({ x: x + radius, y: y + radius });
}, [radius]);
...
Let's slap that on to our Draggable component.
<Draggable position={position} onDrag={handleDrag}>
...
</Draggable>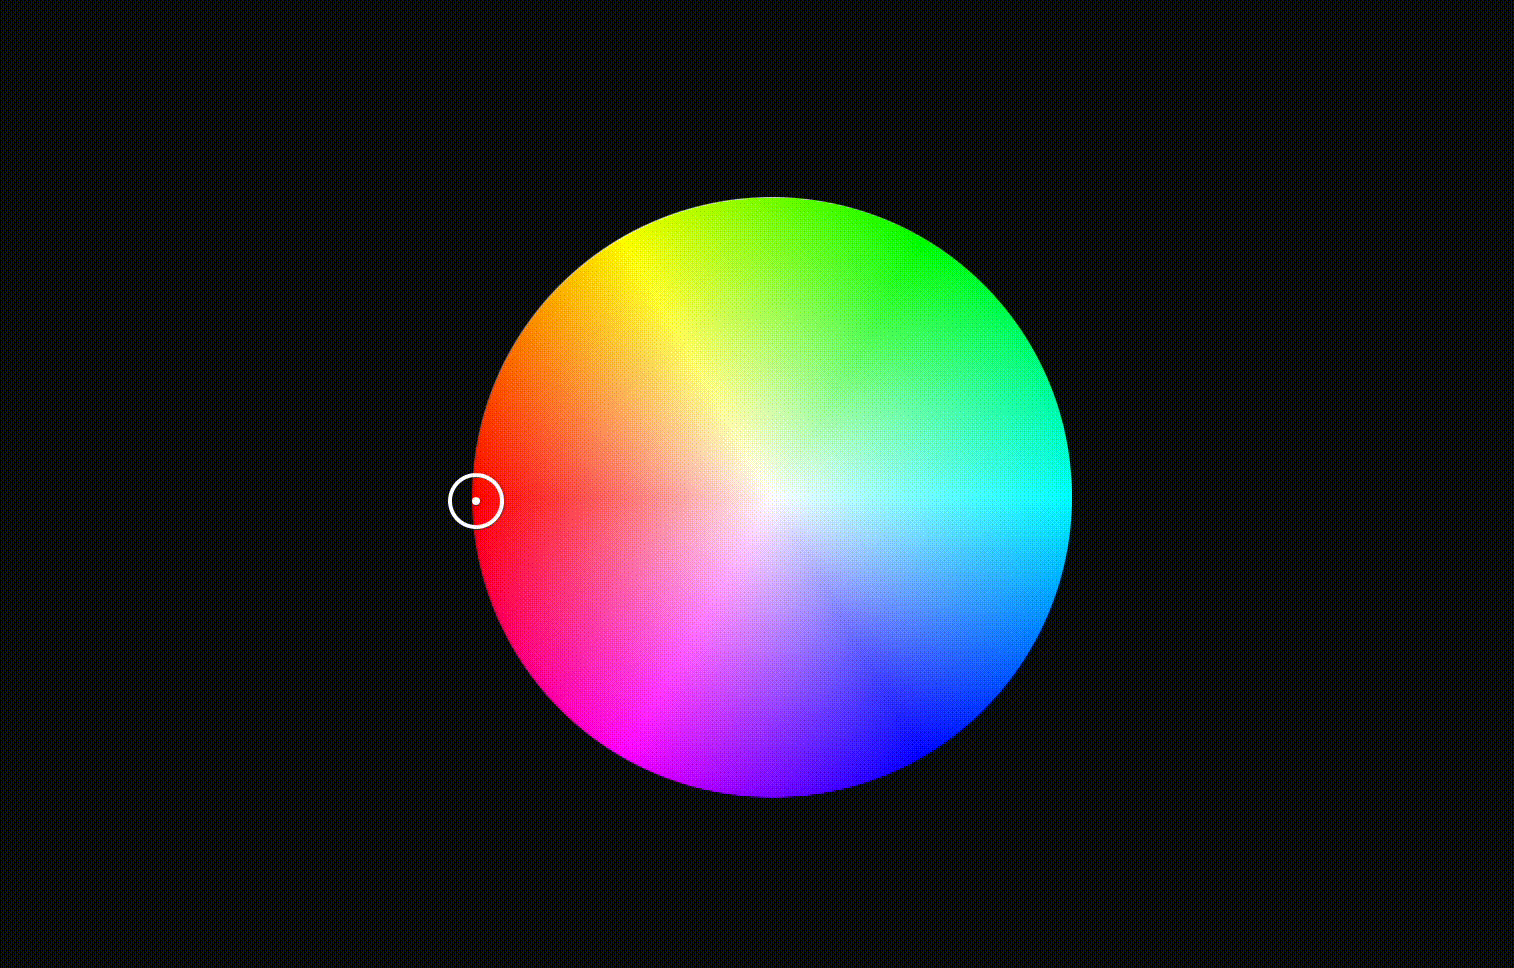
Our picker is now prevented to be dragged outside of the circle's bounds. That's very nice! Now, it's time to tackle the harmony calculations.
Computing harmonies
Define the different color harmony algorithms as degrees in an array.
const harmonies = {
    triad: [120, 240],
    tetradic: [60, 180, 240],
    complementary: [180],
    analogous: [-30, 30],
    square: [90, 180, 270]
} as const;
If the source color has a hue of say 60 - when computing the triad harmonies for that color, we'll just add 120 to get the first triad component, and add 240 to get the second component, resulting in the final hues: 60, 180 and 300. It's really that simple.
We can implement this logic as follow:
...
const harmony = useMemo(() => harmonies[harmonyName], [harmonyName]);

const harmonyPairs = useMemo(() => {
    const x = position.x - radius;
    const y = position.y - radius;

    // Convert the Draggable's X & Y coordinates to Polar coordinates
    const [r, phi] = xy2polar(x, y);

    // Calculate the current hue based on the draggable coordinates
    const hue = rad2deg(phi);
    const saturation = r / radius;
    const value = 1.0;

    // Compute harmonies based on the current color
    const colors = harmony.map(harmonyHue => {
        // Rotate the hue with respect to the 360 degrees
        let newHue = (hue + harmonyHue) % 360;
        newHue = newHue < 0 ? 360 + newHue : newHue;

        // Convert the harmony hue to X & Y coordinates, so that we can plot them out on our color picker
        const [x, y] = polar2xy(r, newHue * (Math.PI / 180));
        return { x: -x + radius, y: -y + radius, hue: newHue, saturation, value };
    });

    onChange?.([{ hue, saturation, value }, ...colors]);

    return colors;
}, [position, harmony, onChange, radius]);
...
harmonyPairs will now hold the computed color harmonies. What's left is basically to render components which maps to these coordinates.
Put the following in your render function:
{harmonyPairs.map((harmony, i) => {
    return (
        <div
            key={i}
            style={{
                position: 'absolute',
                top: "-12px",
                left: "-12px",
                width: "24px",
                height: "24px",
                borderRadius: "999px",
                border: "2px solid #fff",
                transform: `translate(${harmony.x}px, ${harmony.y}px)`,
                boxShadow: "0 0 0 1px rgba(0, 0, 0, 0.05)",
            }}
        />
    )
})}
And voilà! We have a fully functional color picker which can compute color harmonies using a color picker component. Feel free to pass different harmonies to our <ColorWheel /> component to verify that it works.
If you feel like things were a little hard to follow along, and just want to copy the entire solution - I've put some handy links behind a paywall below, for all my paying subscribers.
This section is for premium subscribers only. Subscribe to Emil Widlund to get access to it.
Thank you so much for reading this, I really appreciate it. Make sure to subscribe to not miss any future articles on my coding endeavours!
You can find me on X / Twitter or on GitHub. Until next time!