> ## Documentation Index
> Fetch the complete documentation index at: https://polar.sh/docs/llms.txt
> Use this file to discover all available pages before exploring further.
# Custom Fields
> Learn how to add custom input fields to your checkout with Polar
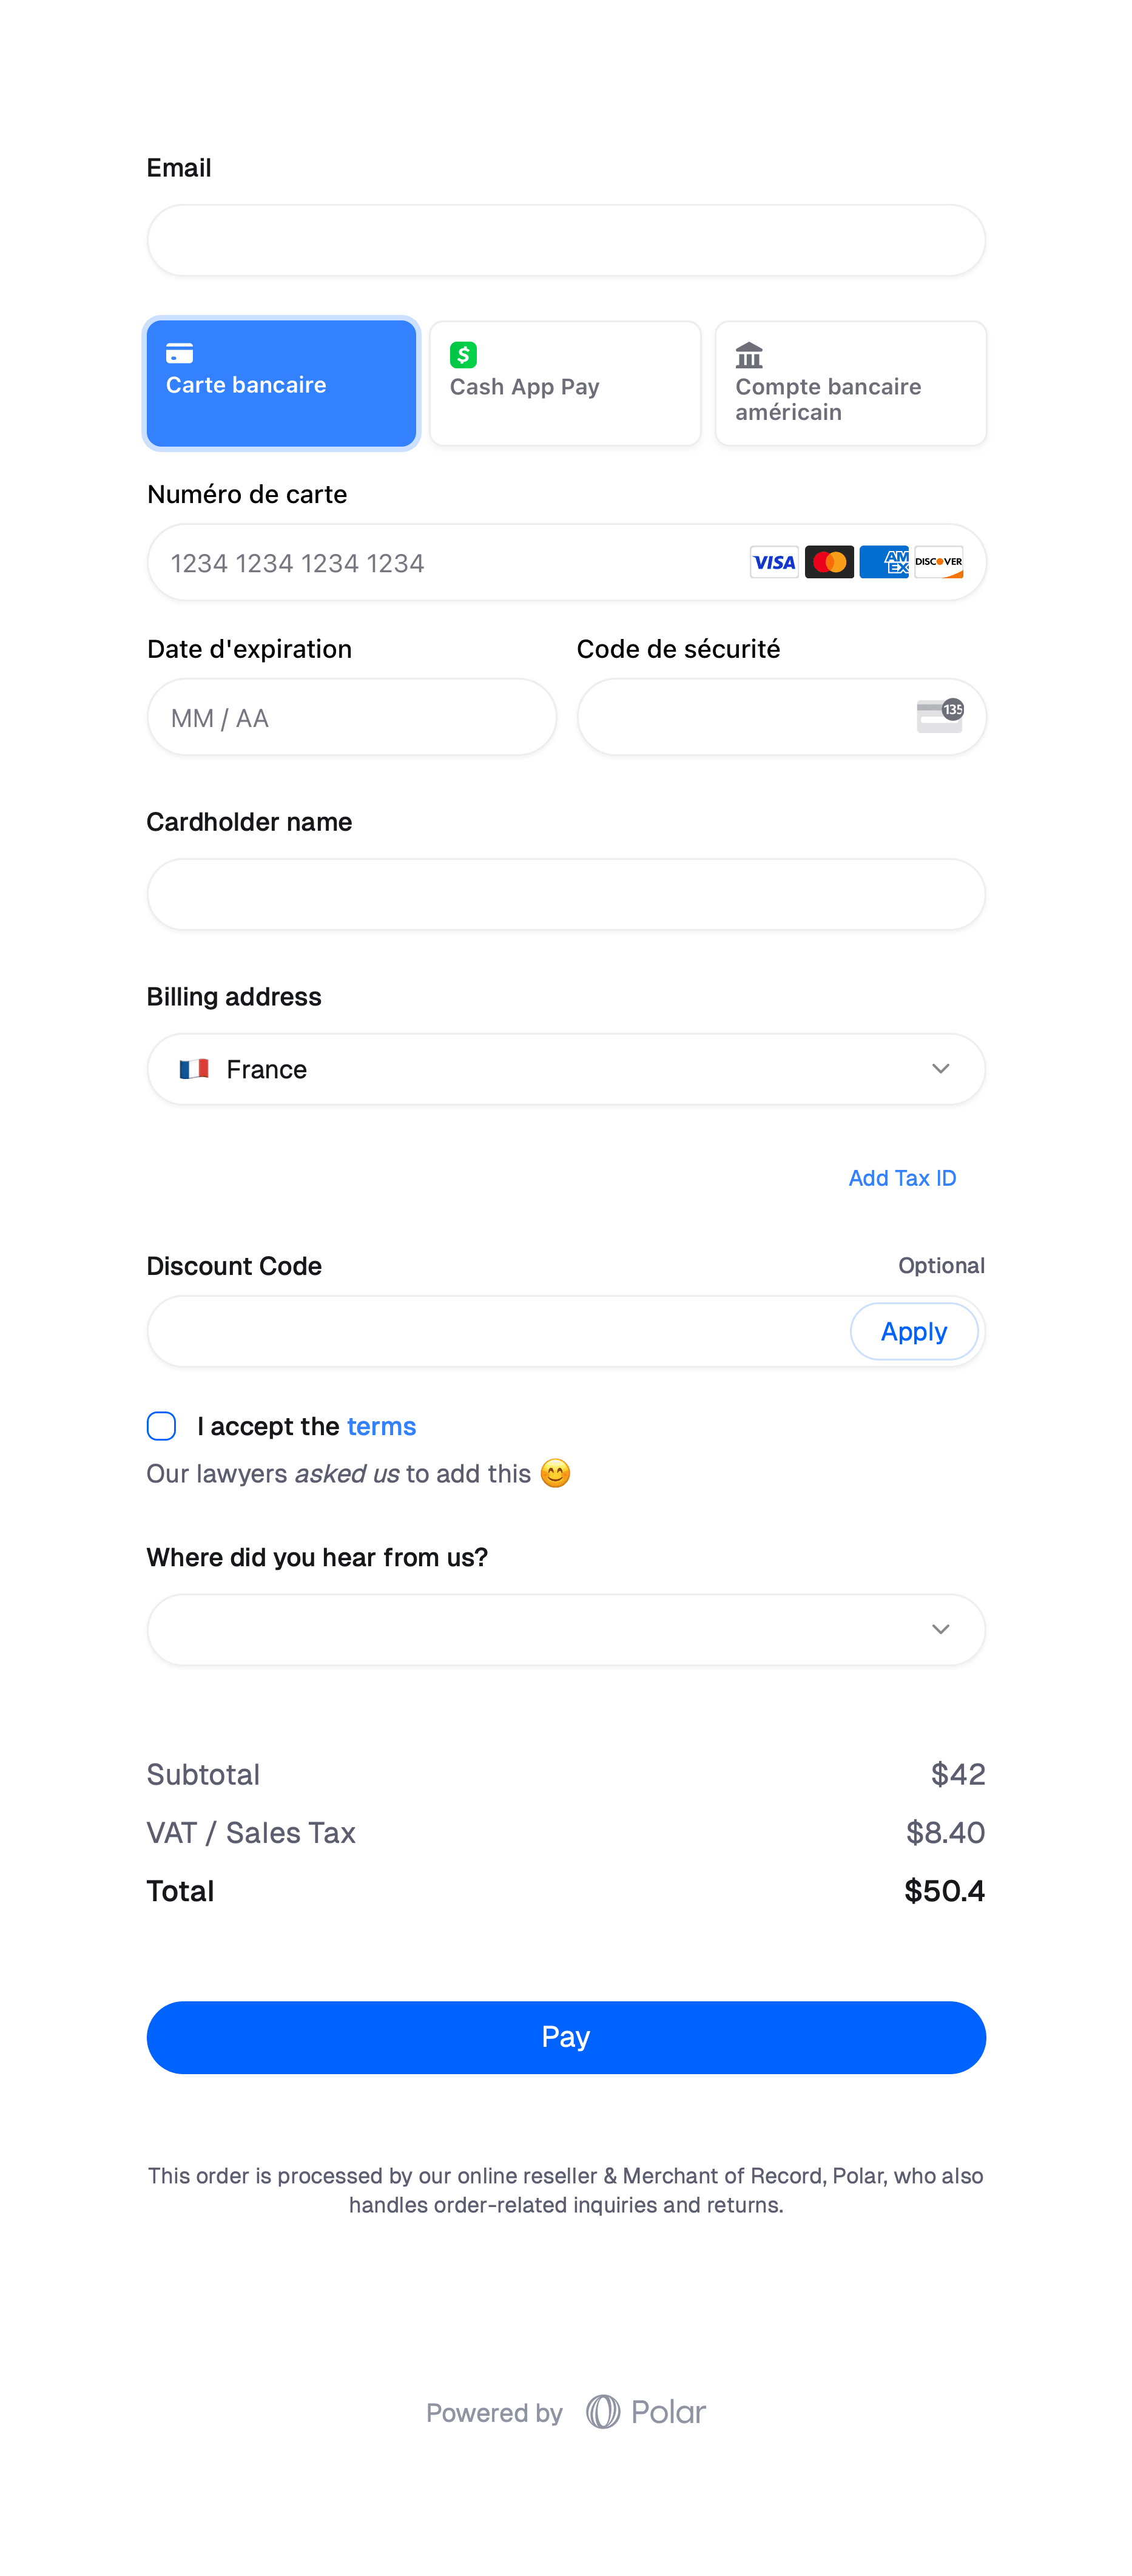
By default, the Checkout form will only ask basic information from the customer to fulfill the order: a name, an email address, billing information, etc. But you might need more! A few examples:
* A checkbox asking the customer to accept your terms
* An opt-in newsletter consent
* A select menu to ask where they heard from you
* ...
With Polar, you can easily add such fields to your checkout using **Custom Fields**.
## Create Custom Fields
Custom Fields are managed at an organization's level. To create them, go to [**Settings → Custom Fields**](https://polar.sh/to/dashboard/settings/custom-fields). You'll see the list of all the available fields on your organization.
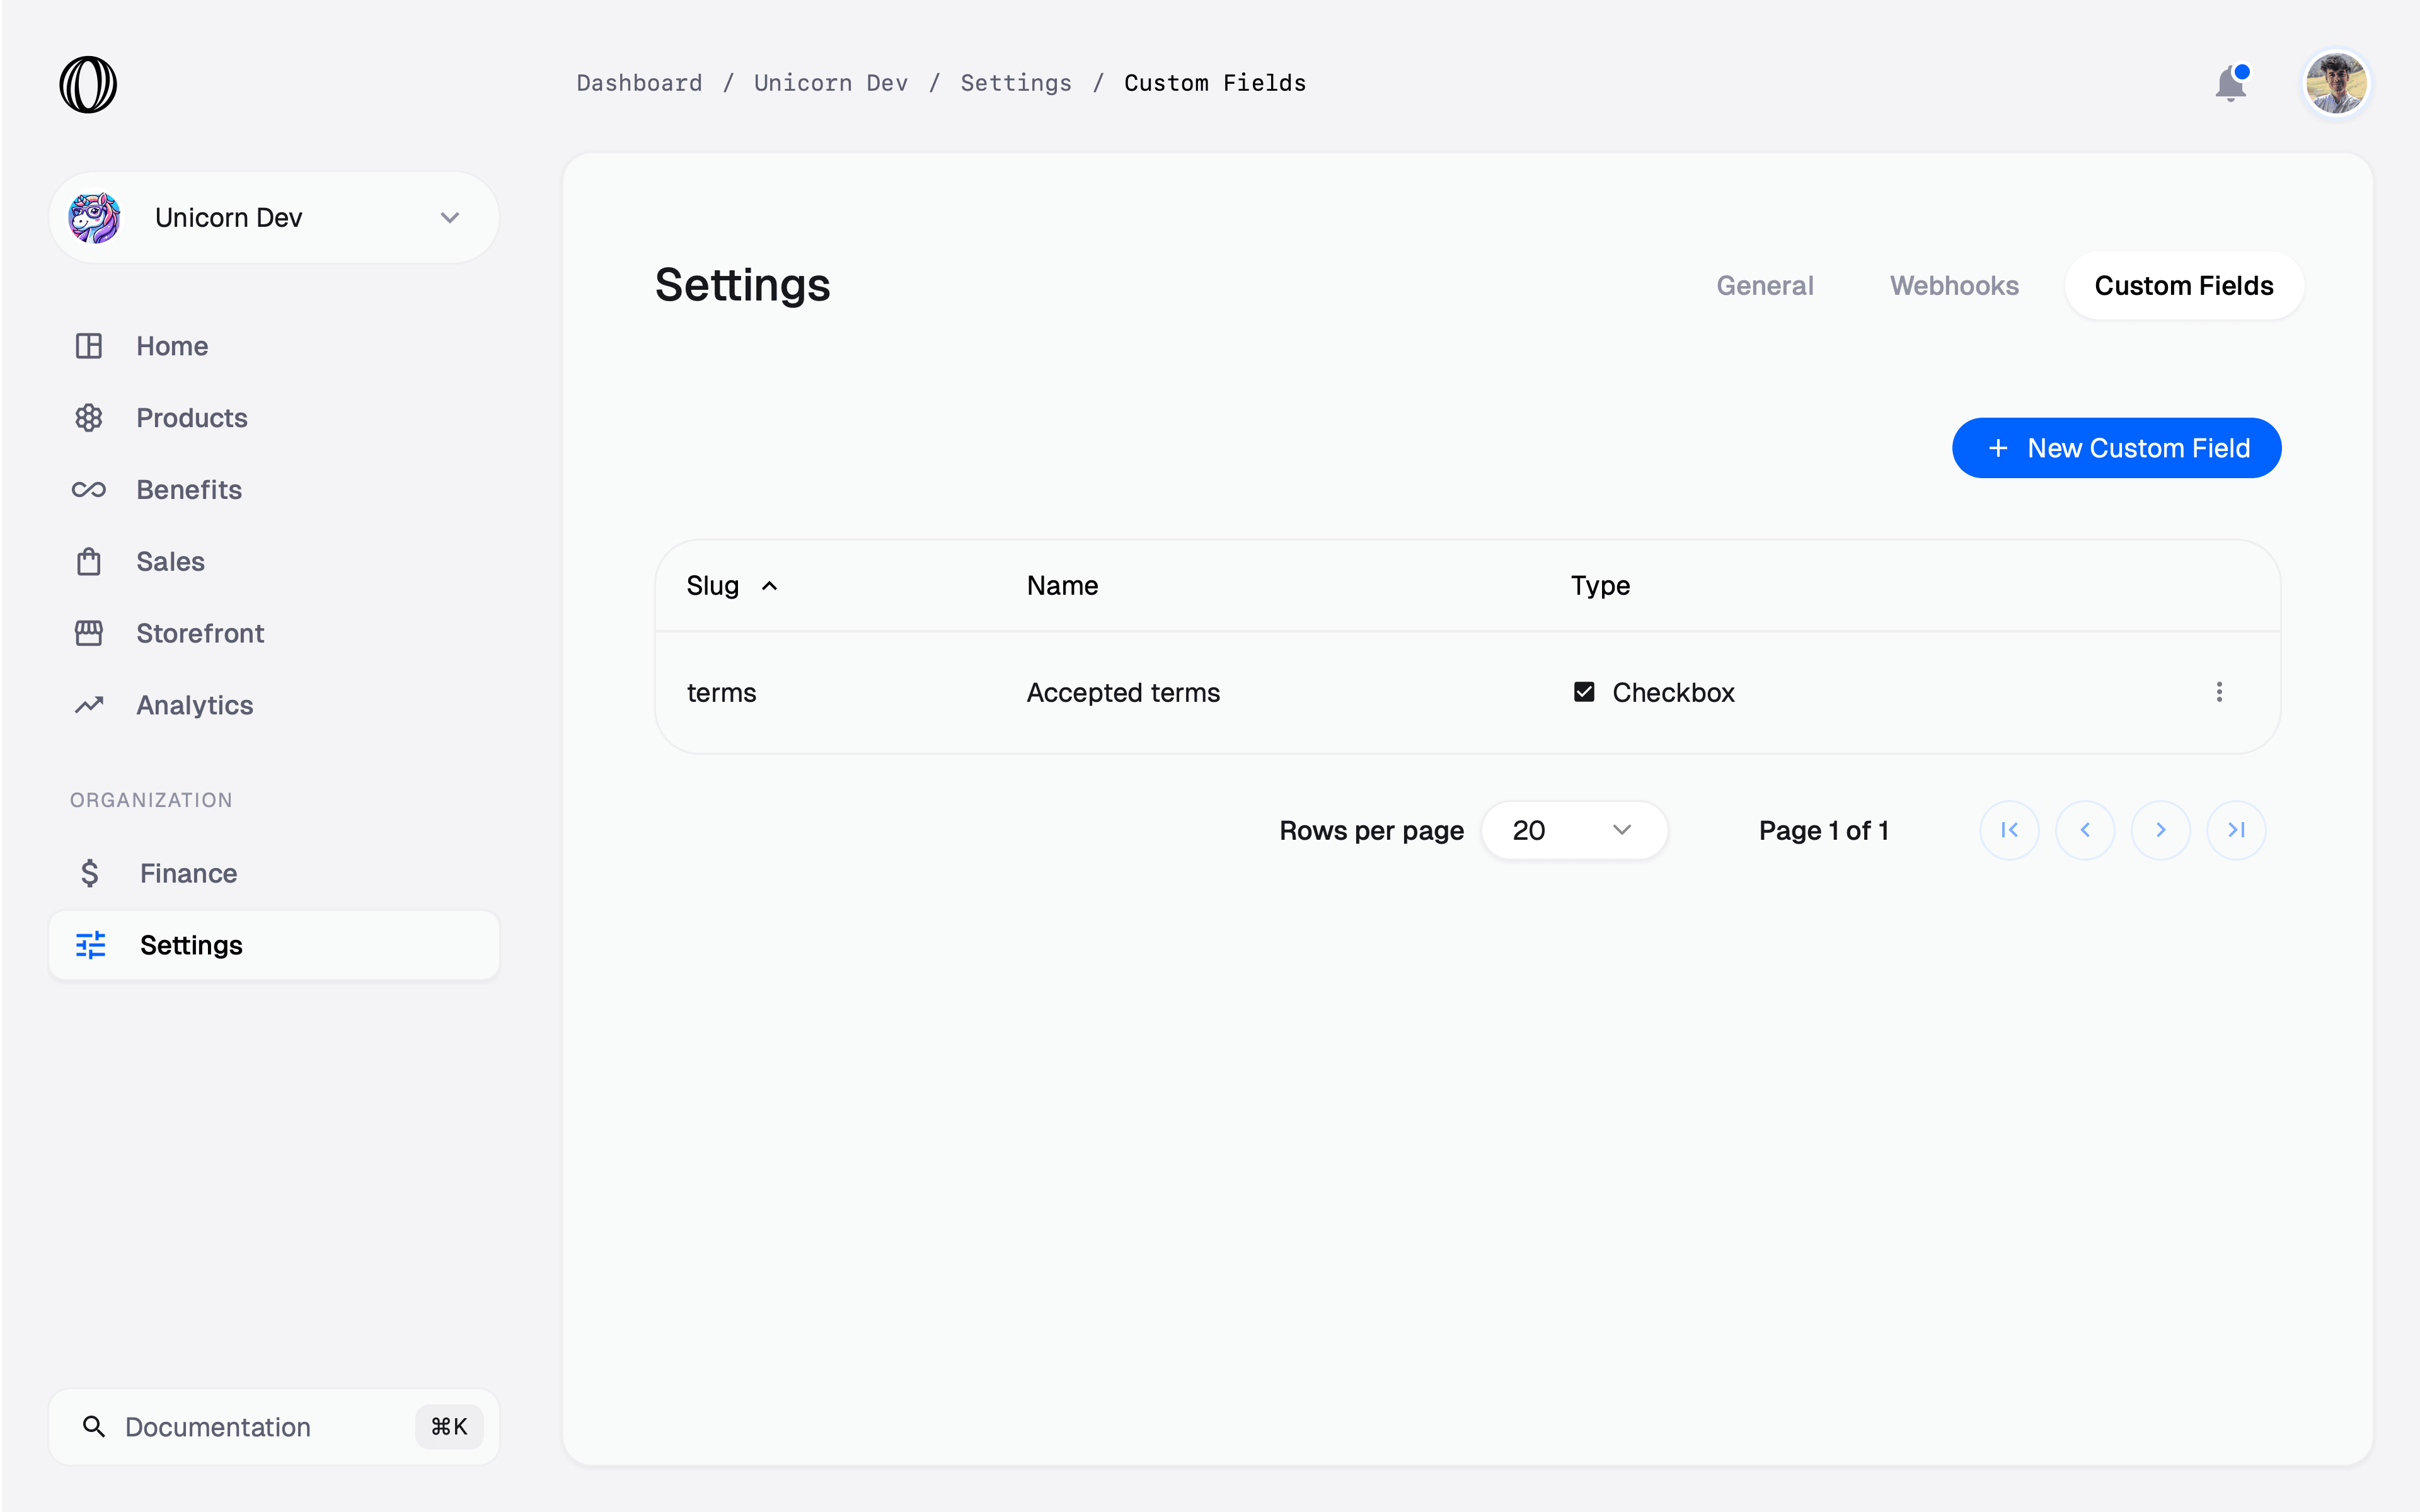
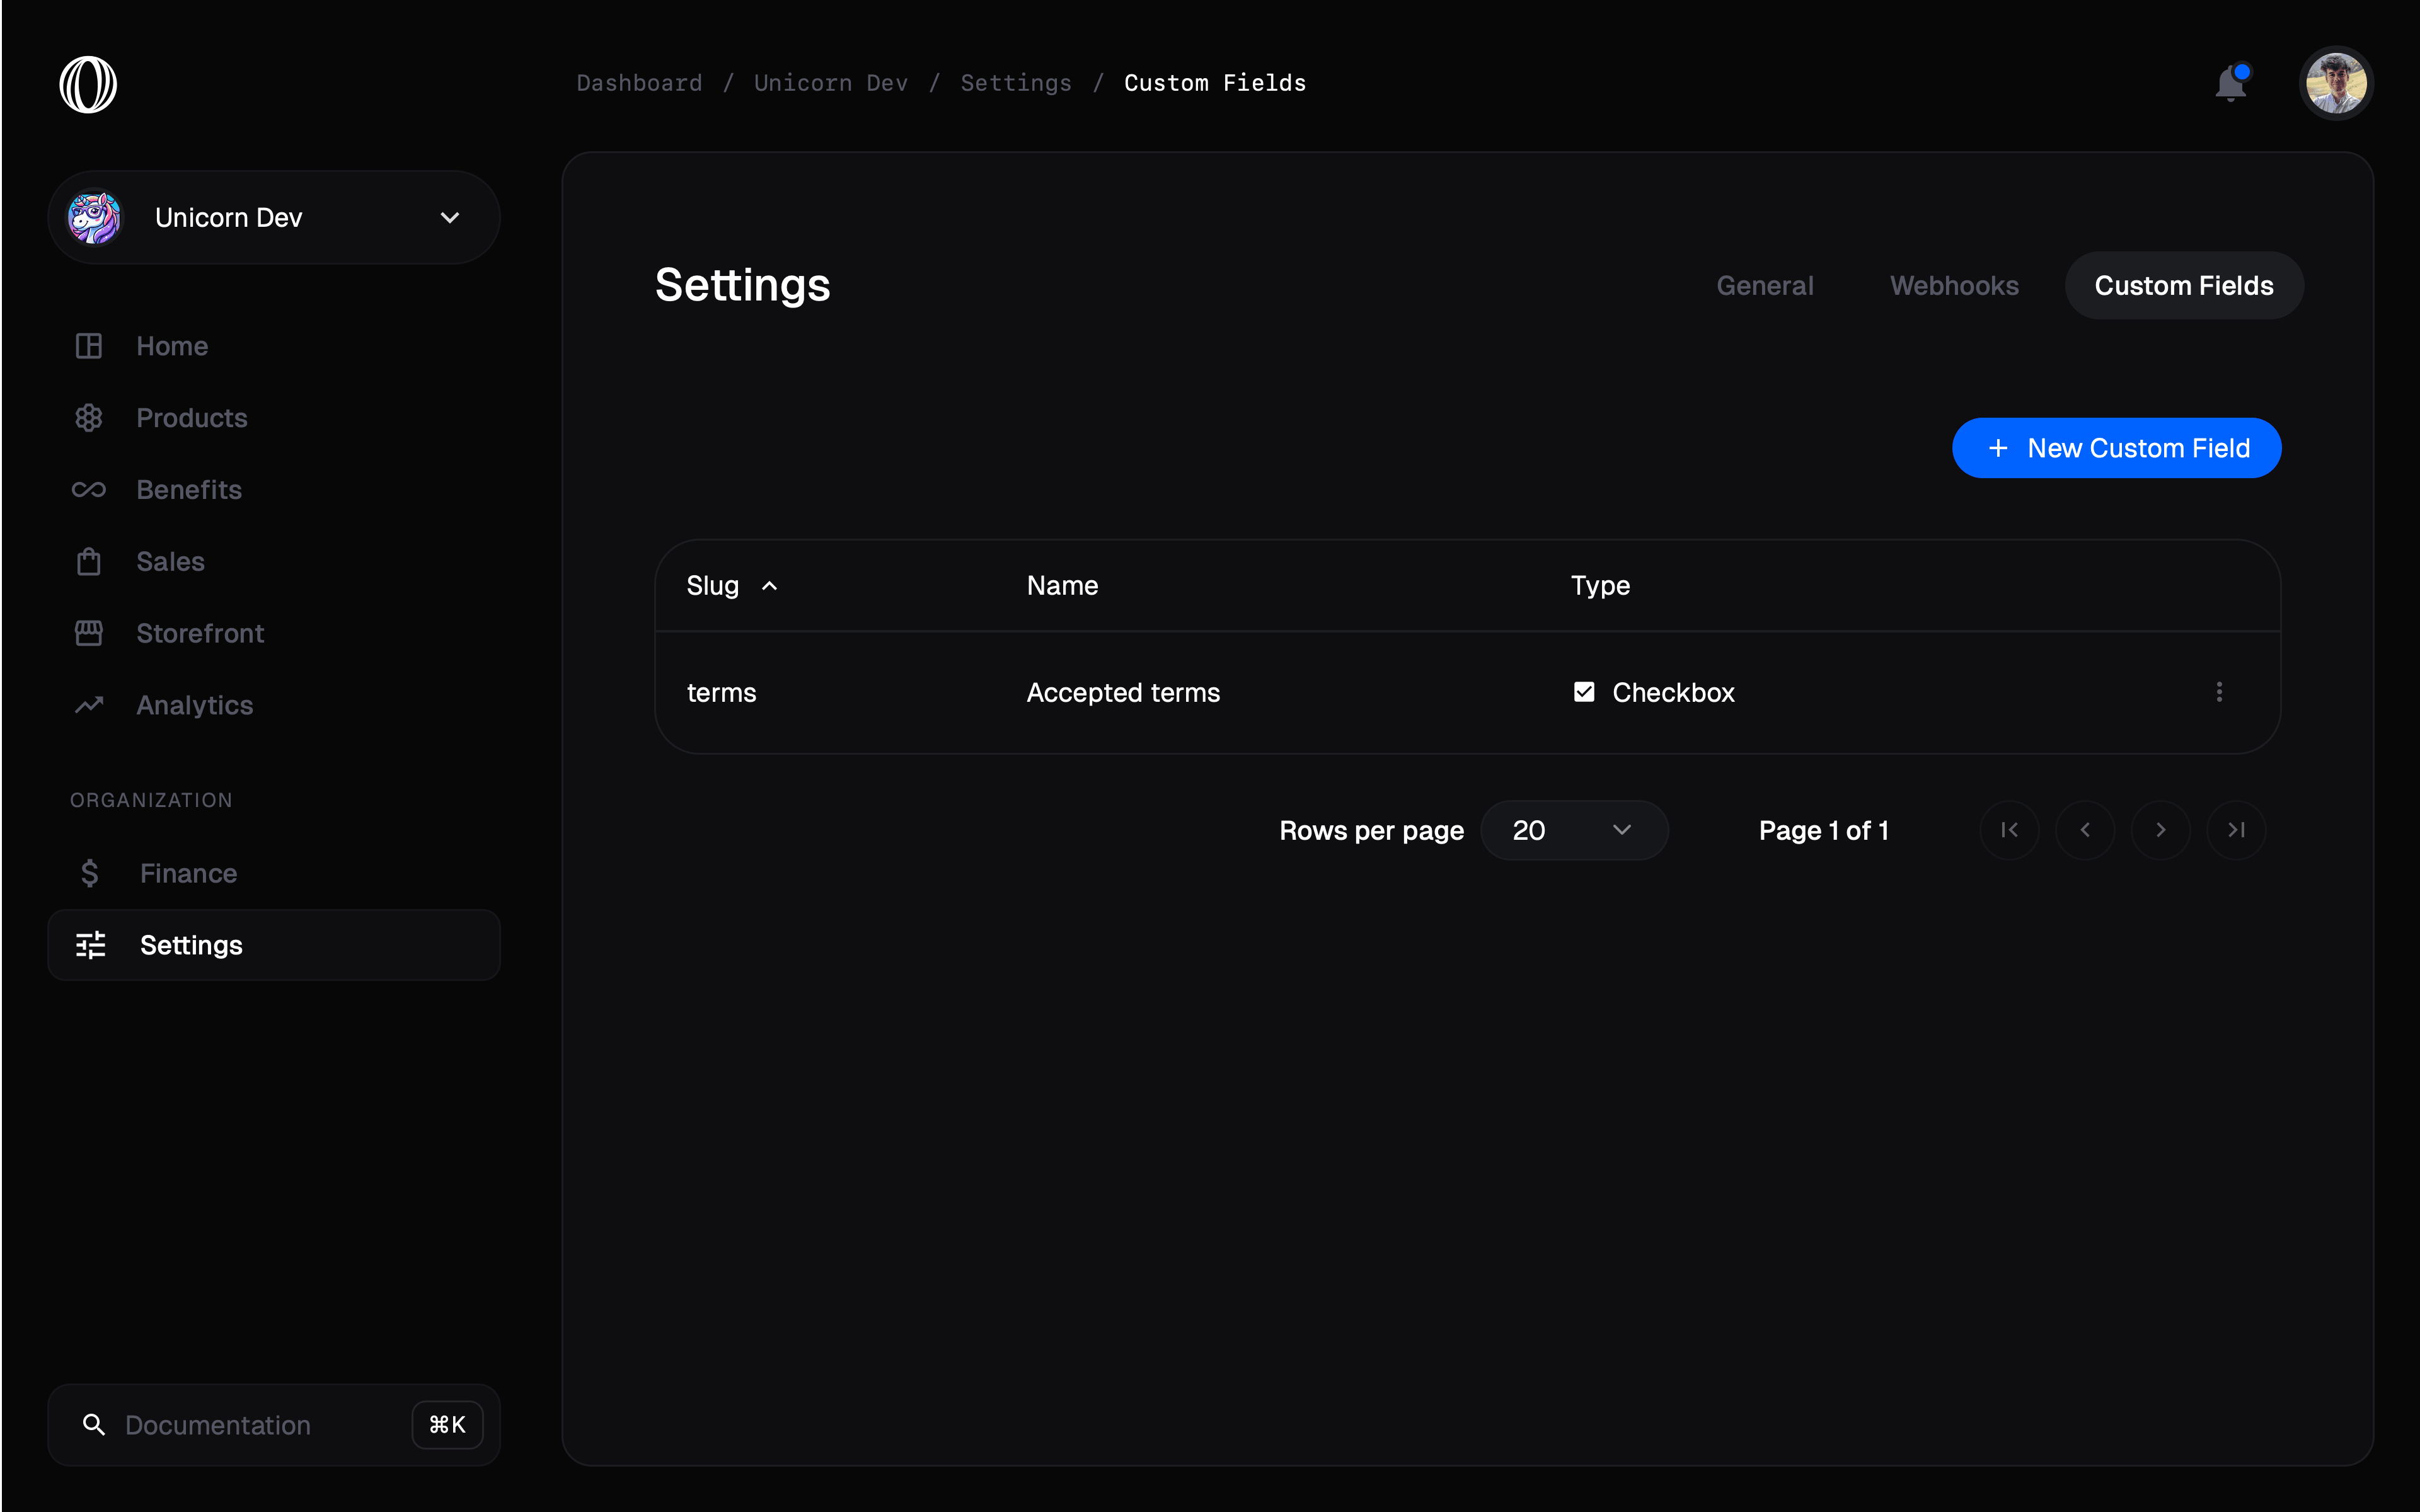 Click on **New Custom Field** to create a new one.
### Type
The type of the field is the most important thing to select. It determines what type of input will be displayed to the customer during checkout.
The type can't be changed after the field is created.
We support five types of fields:
#### Text
This will display a simple text field to input textual data. By default, it'll render a simple input field but you can render a **textarea** by toggling the option under `Form input options`.
Under `Validation constraints`, you can add minimum and maximum length validation.
Underneath, the data will be stored as a string.
#### Number
This will display a number input field. Under `Validation constraints`, you can add minimum and maximum validation.
Underneath, the data will be stored as a number.
#### Date
This will display a date input field. Under `Validation constraints`, you can add minimum and maximum validation.
Underneath, the data will be stored as a string using the ISO 8601 format.
#### Checkbox
This will display a checkbox field.
Underneath, the data will be stored as a boolean (`true` or `false`).
#### Select
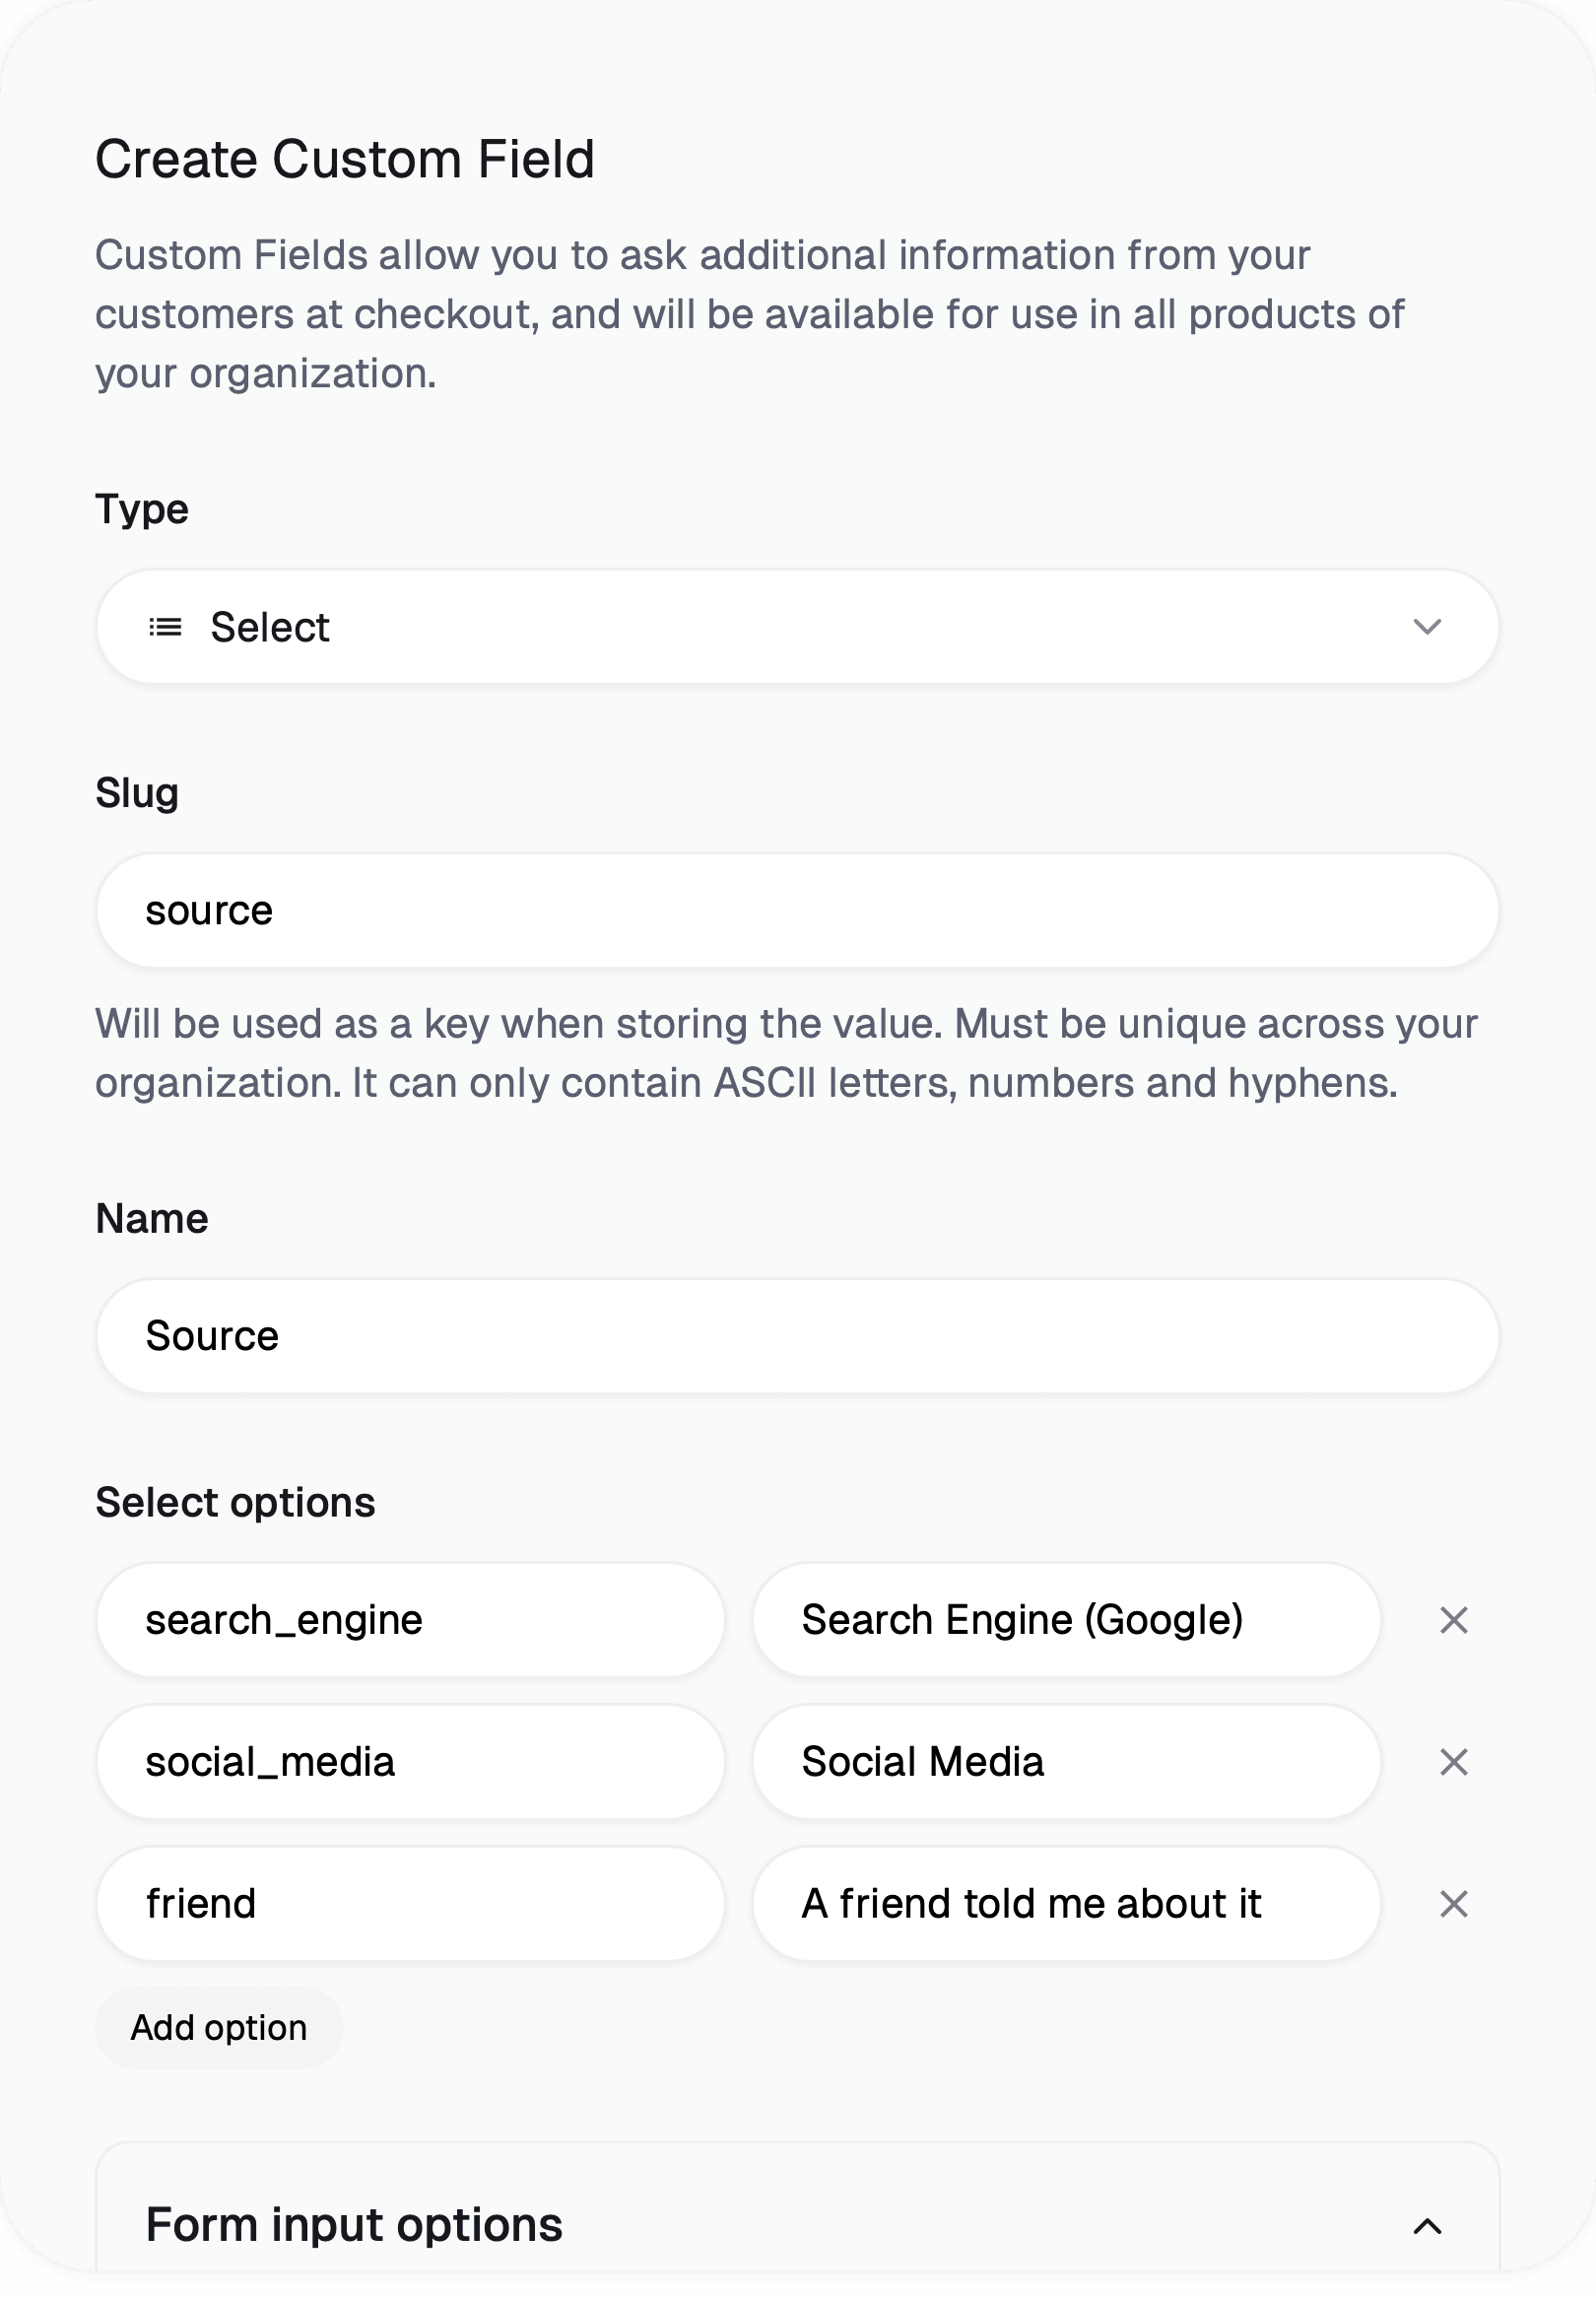
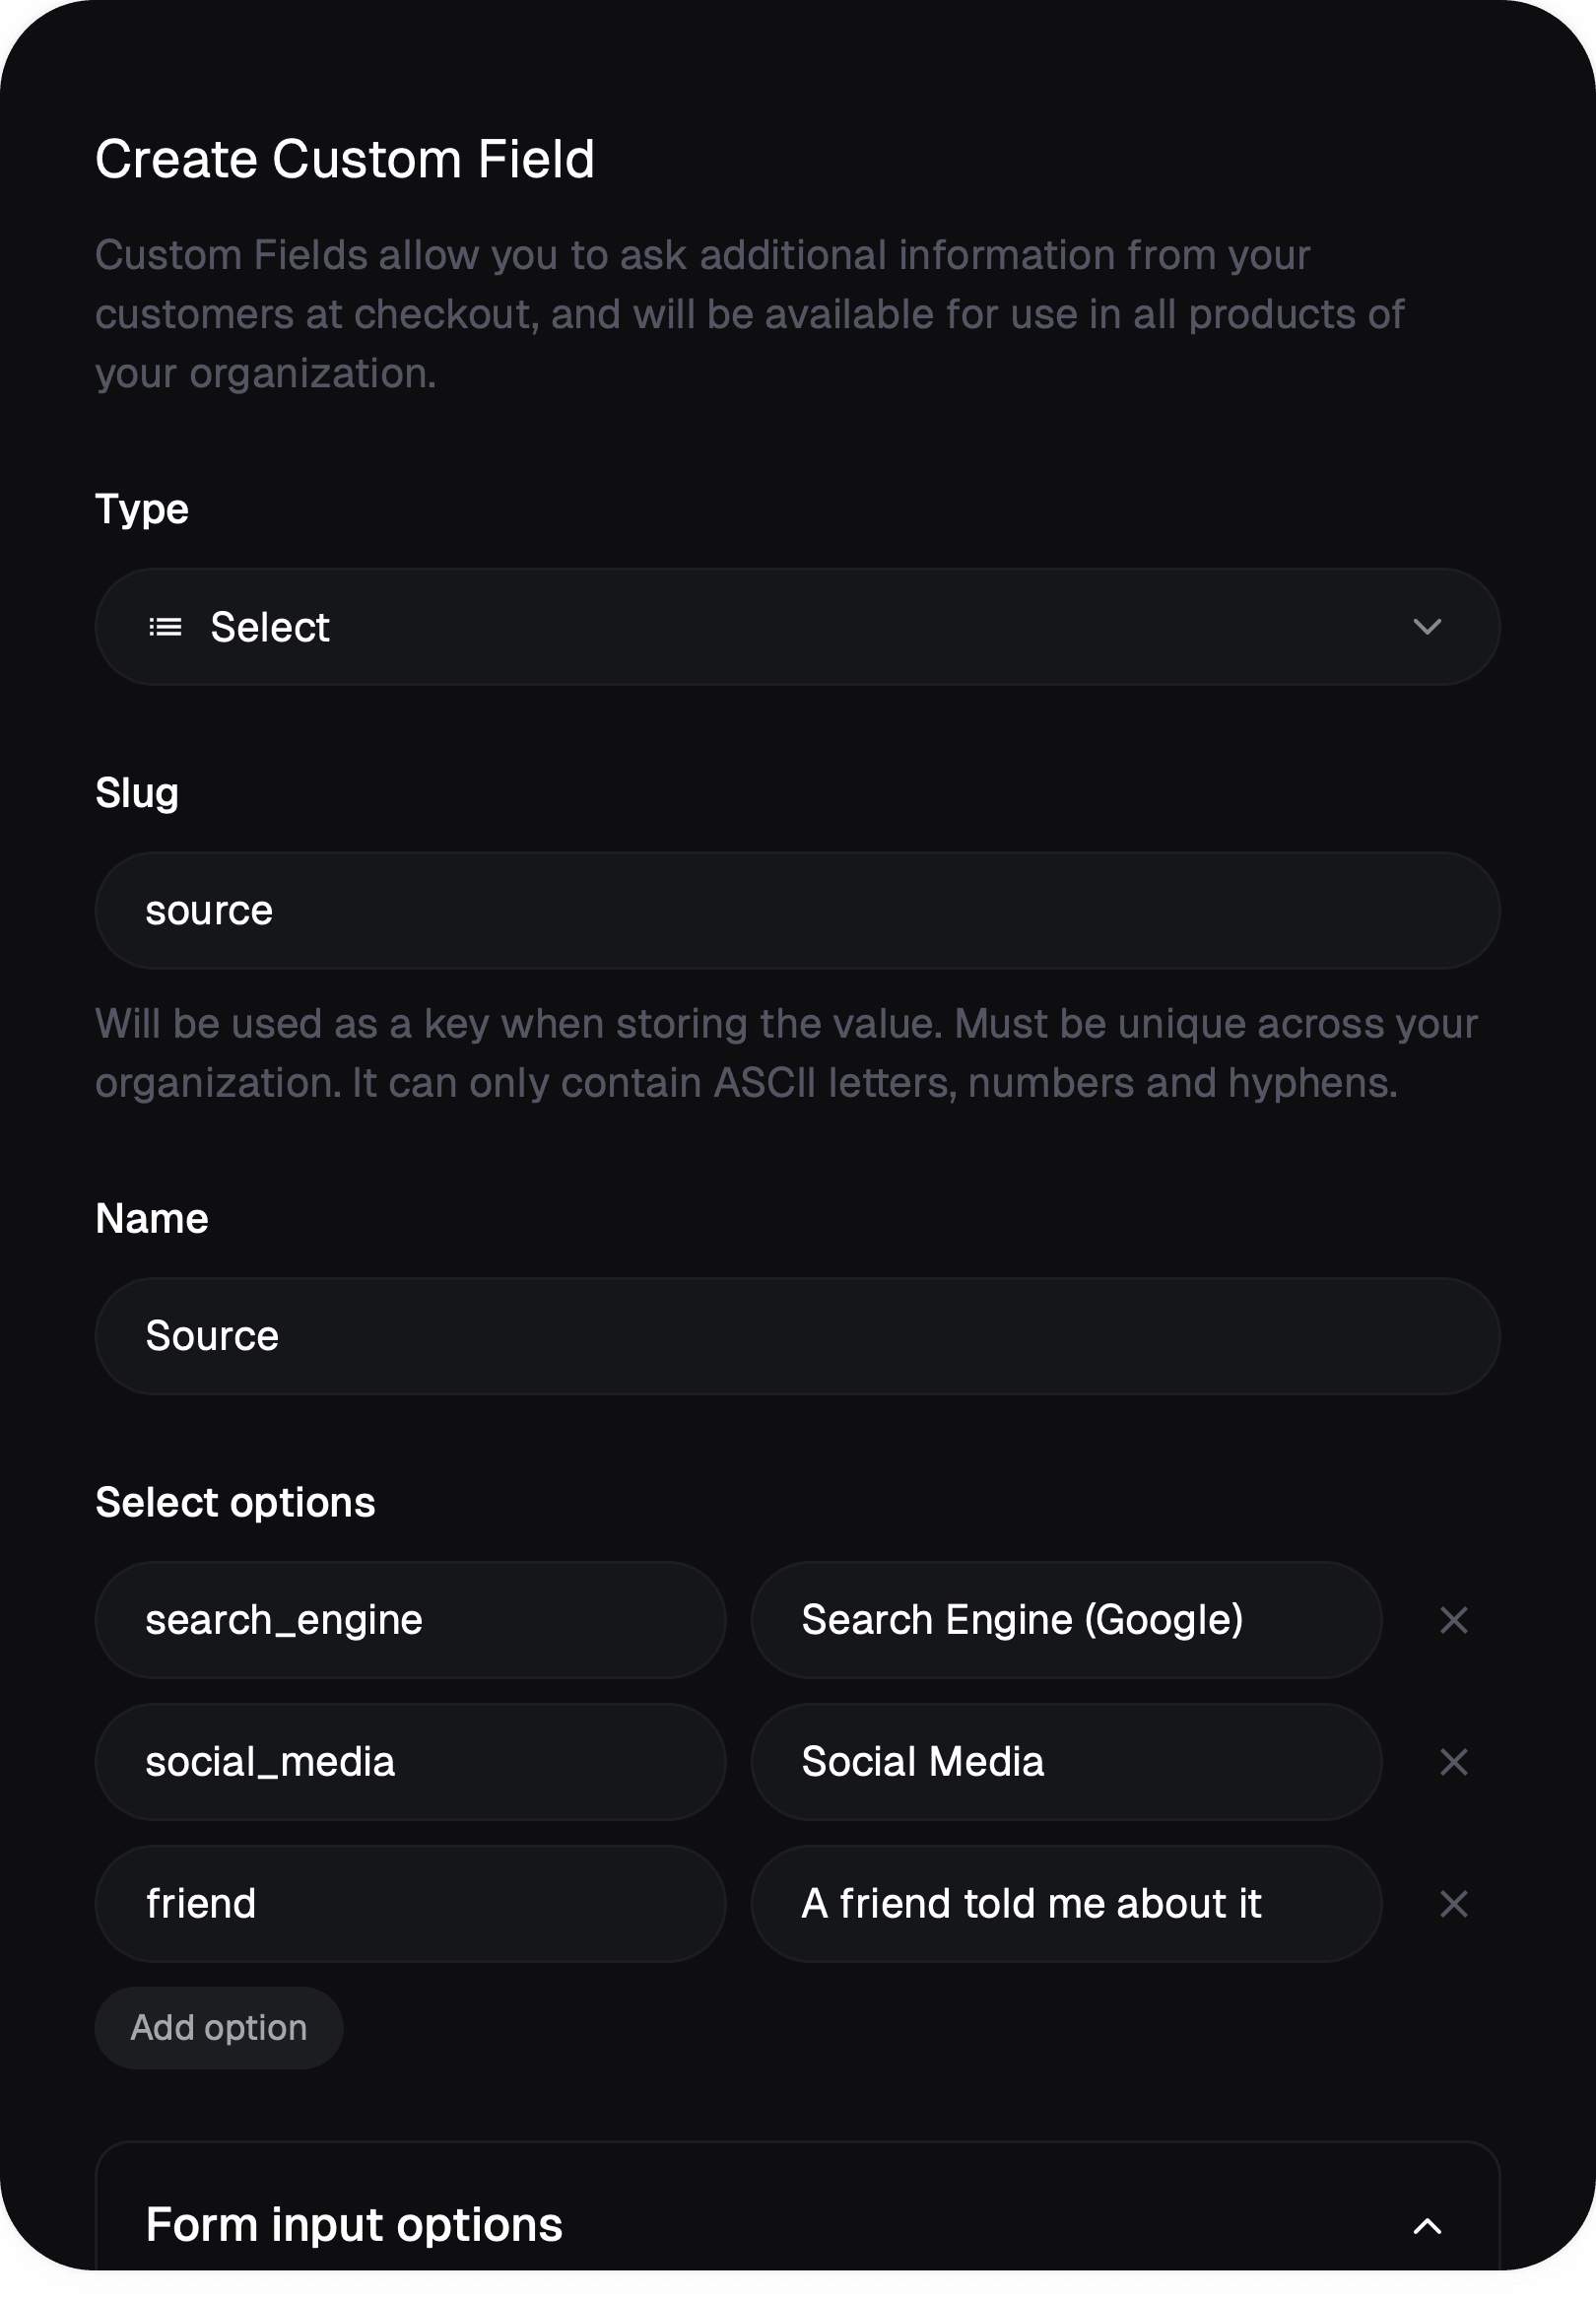
This will display a select field with a predefined set of options. Each option is a pair of `Value` and `Label`, the first one being the value that'll be stored underneath and the latter the one that will be shown to the customer.
### Slug and name
The slug determines the key that'll be used to store the data inside objects related to the checkout, like Orders and Subscriptions. It must be unique across your organization. You can change it afterwards, we'll automatically update the data to reflect the new slug.
The name is what we'll be displayed to you to recognize the field across your dashboard. By default, it'll also be the label of the field displayed to the customer, unless you customize it under `Form input options`.
Click on **New Custom Field** to create a new one.
### Type
The type of the field is the most important thing to select. It determines what type of input will be displayed to the customer during checkout.
The type can't be changed after the field is created.
We support five types of fields:
#### Text
This will display a simple text field to input textual data. By default, it'll render a simple input field but you can render a **textarea** by toggling the option under `Form input options`.
Under `Validation constraints`, you can add minimum and maximum length validation.
Underneath, the data will be stored as a string.
#### Number
This will display a number input field. Under `Validation constraints`, you can add minimum and maximum validation.
Underneath, the data will be stored as a number.
#### Date
This will display a date input field. Under `Validation constraints`, you can add minimum and maximum validation.
Underneath, the data will be stored as a string using the ISO 8601 format.
#### Checkbox
This will display a checkbox field.
Underneath, the data will be stored as a boolean (`true` or `false`).
#### Select
This will display a select field with a predefined set of options. Each option is a pair of `Value` and `Label`, the first one being the value that'll be stored underneath and the latter the one that will be shown to the customer.
### Slug and name
The slug determines the key that'll be used to store the data inside objects related to the checkout, like Orders and Subscriptions. It must be unique across your organization. You can change it afterwards, we'll automatically update the data to reflect the new slug.
The name is what we'll be displayed to you to recognize the field across your dashboard. By default, it'll also be the label of the field displayed to the customer, unless you customize it under `Form input options`.
 ### Form input options
Those options allow you to customize how the field is displayed to the customer. You can set:
* The label, displayed above the field
* The help text, displayed below the field
* The placeholder, displayed inside the field when there is no value
The label and help text supports basic Markdown syntax, so you can add bold, italic or even links.
### Form input options
Those options allow you to customize how the field is displayed to the customer. You can set:
* The label, displayed above the field
* The help text, displayed below the field
* The placeholder, displayed inside the field when there is no value
The label and help text supports basic Markdown syntax, so you can add bold, italic or even links.

 ## Add Custom Field to Checkout
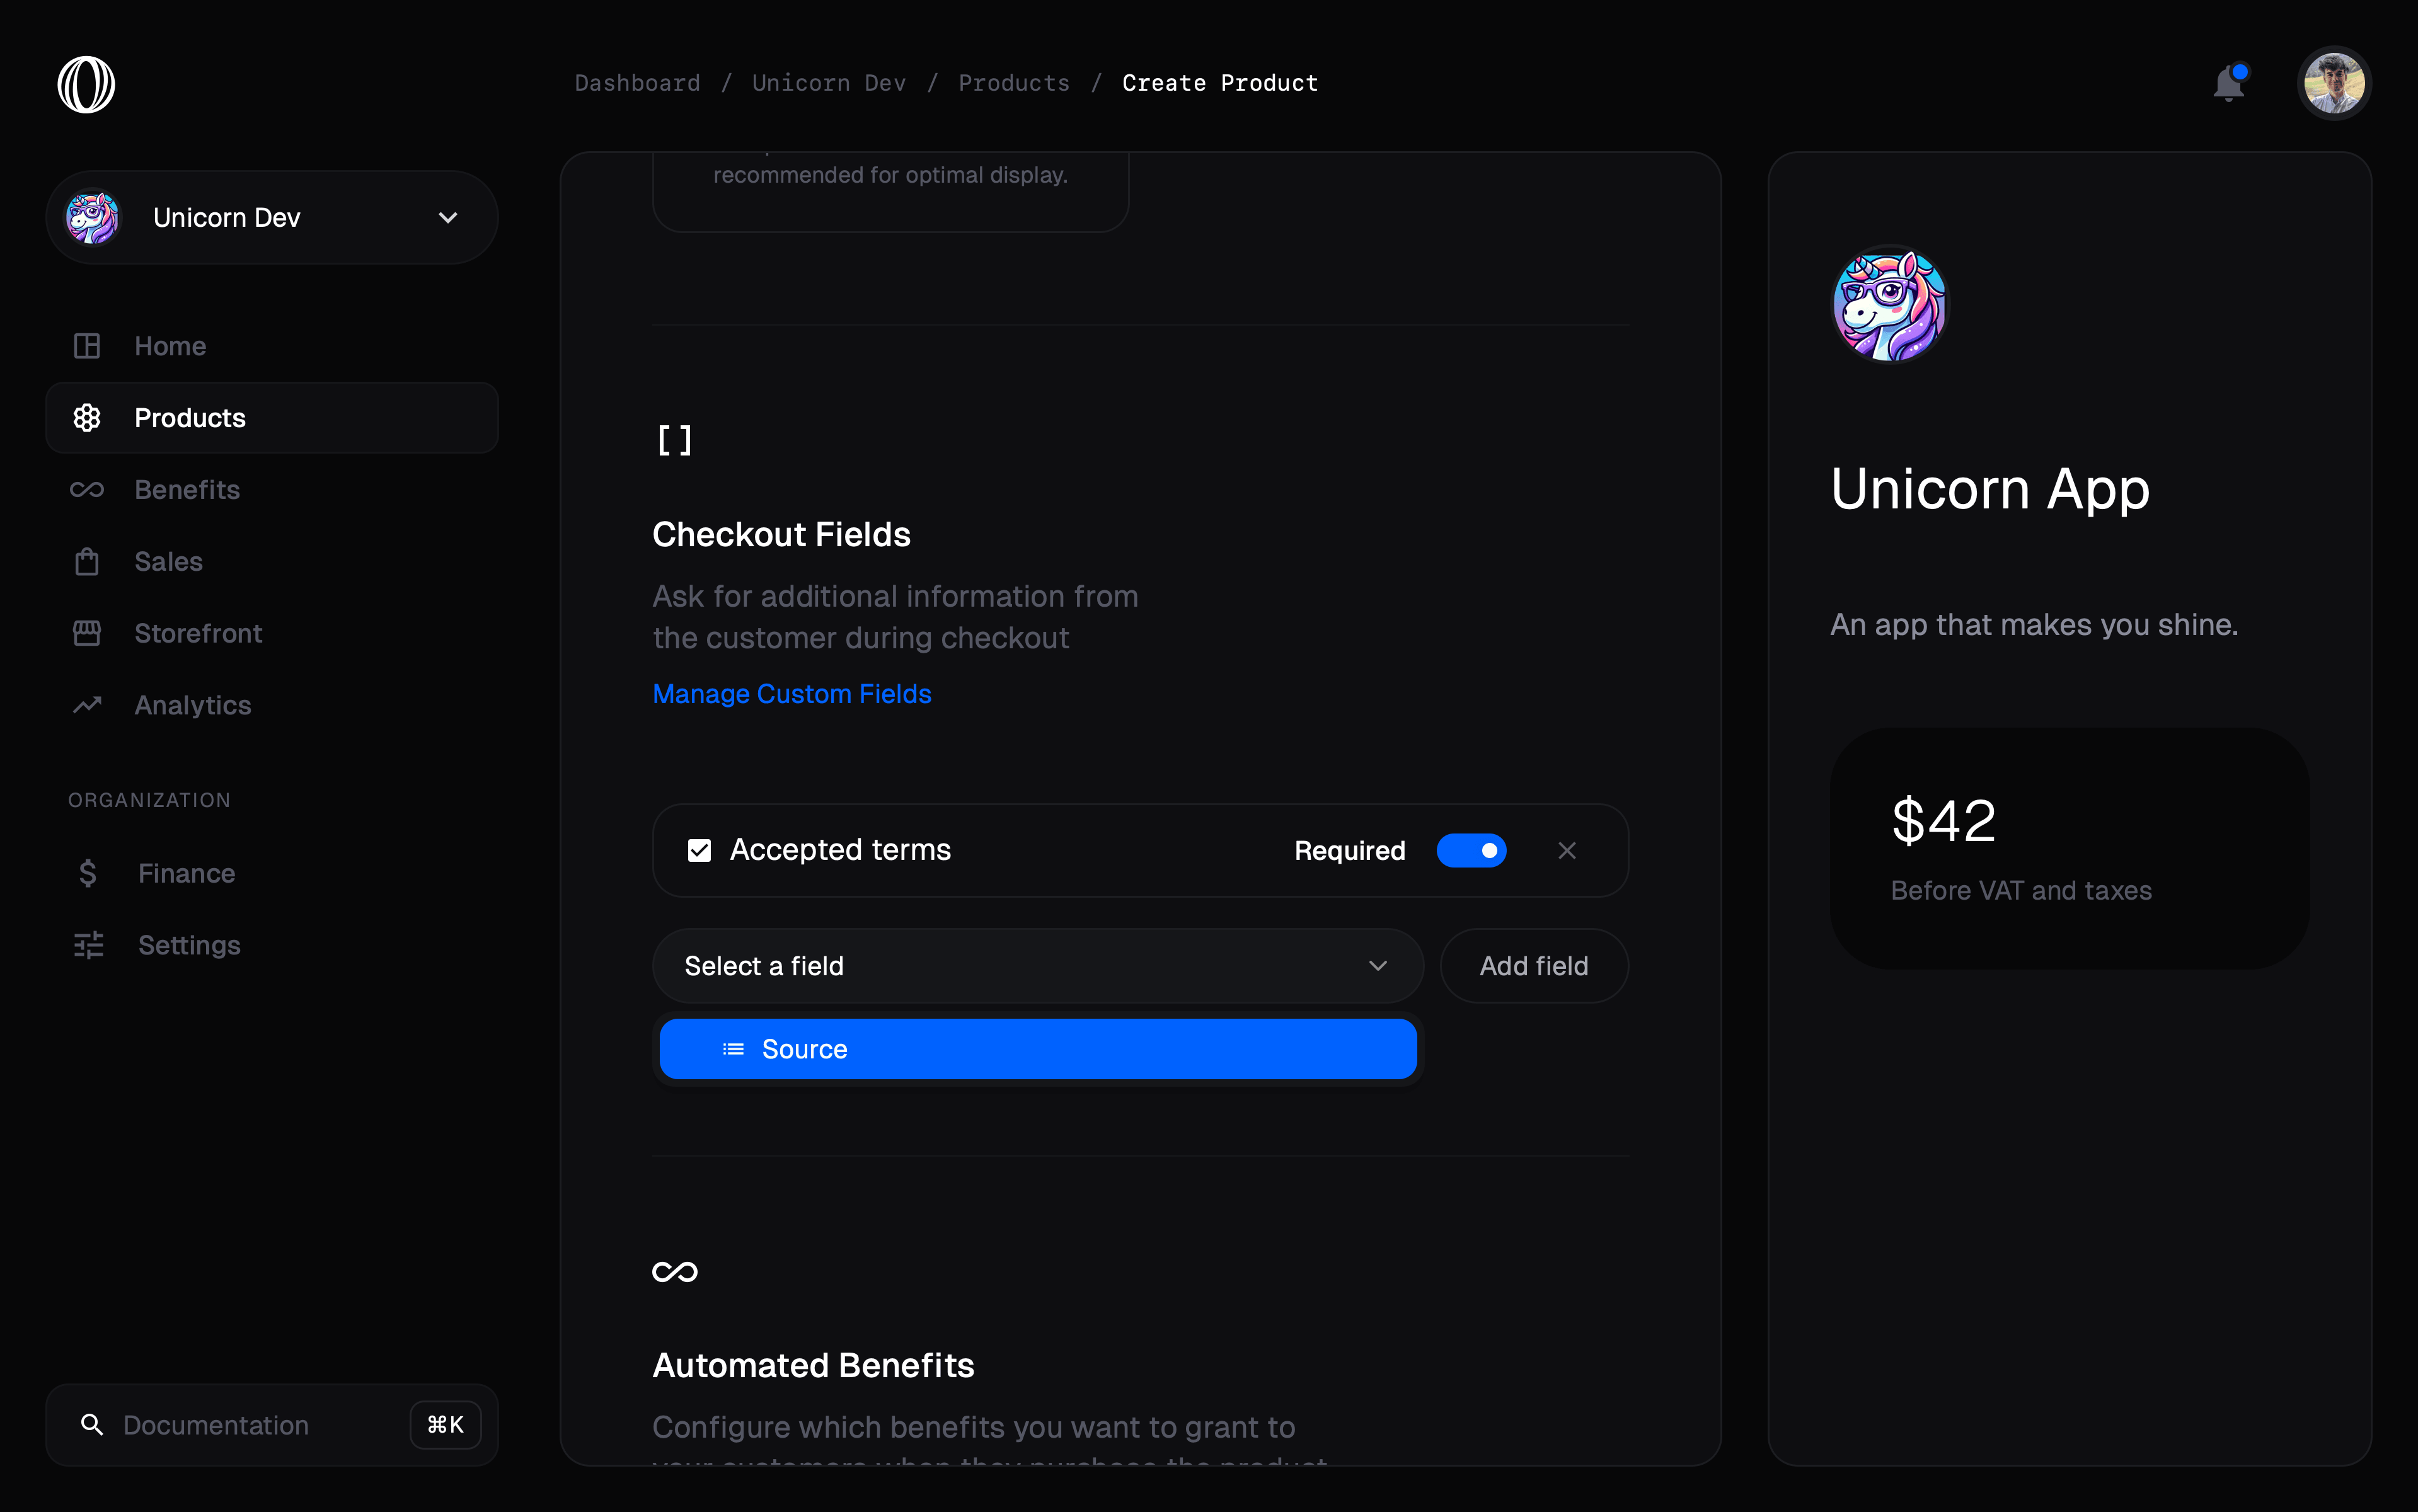
Custom Fields are enabled on Checkout specifically on each **product**. While [creating or updating](/features/products) a product, you can select the custom fields you want to include in the checkout for this product.
## Add Custom Field to Checkout
Custom Fields are enabled on Checkout specifically on each **product**. While [creating or updating](/features/products) a product, you can select the custom fields you want to include in the checkout for this product.
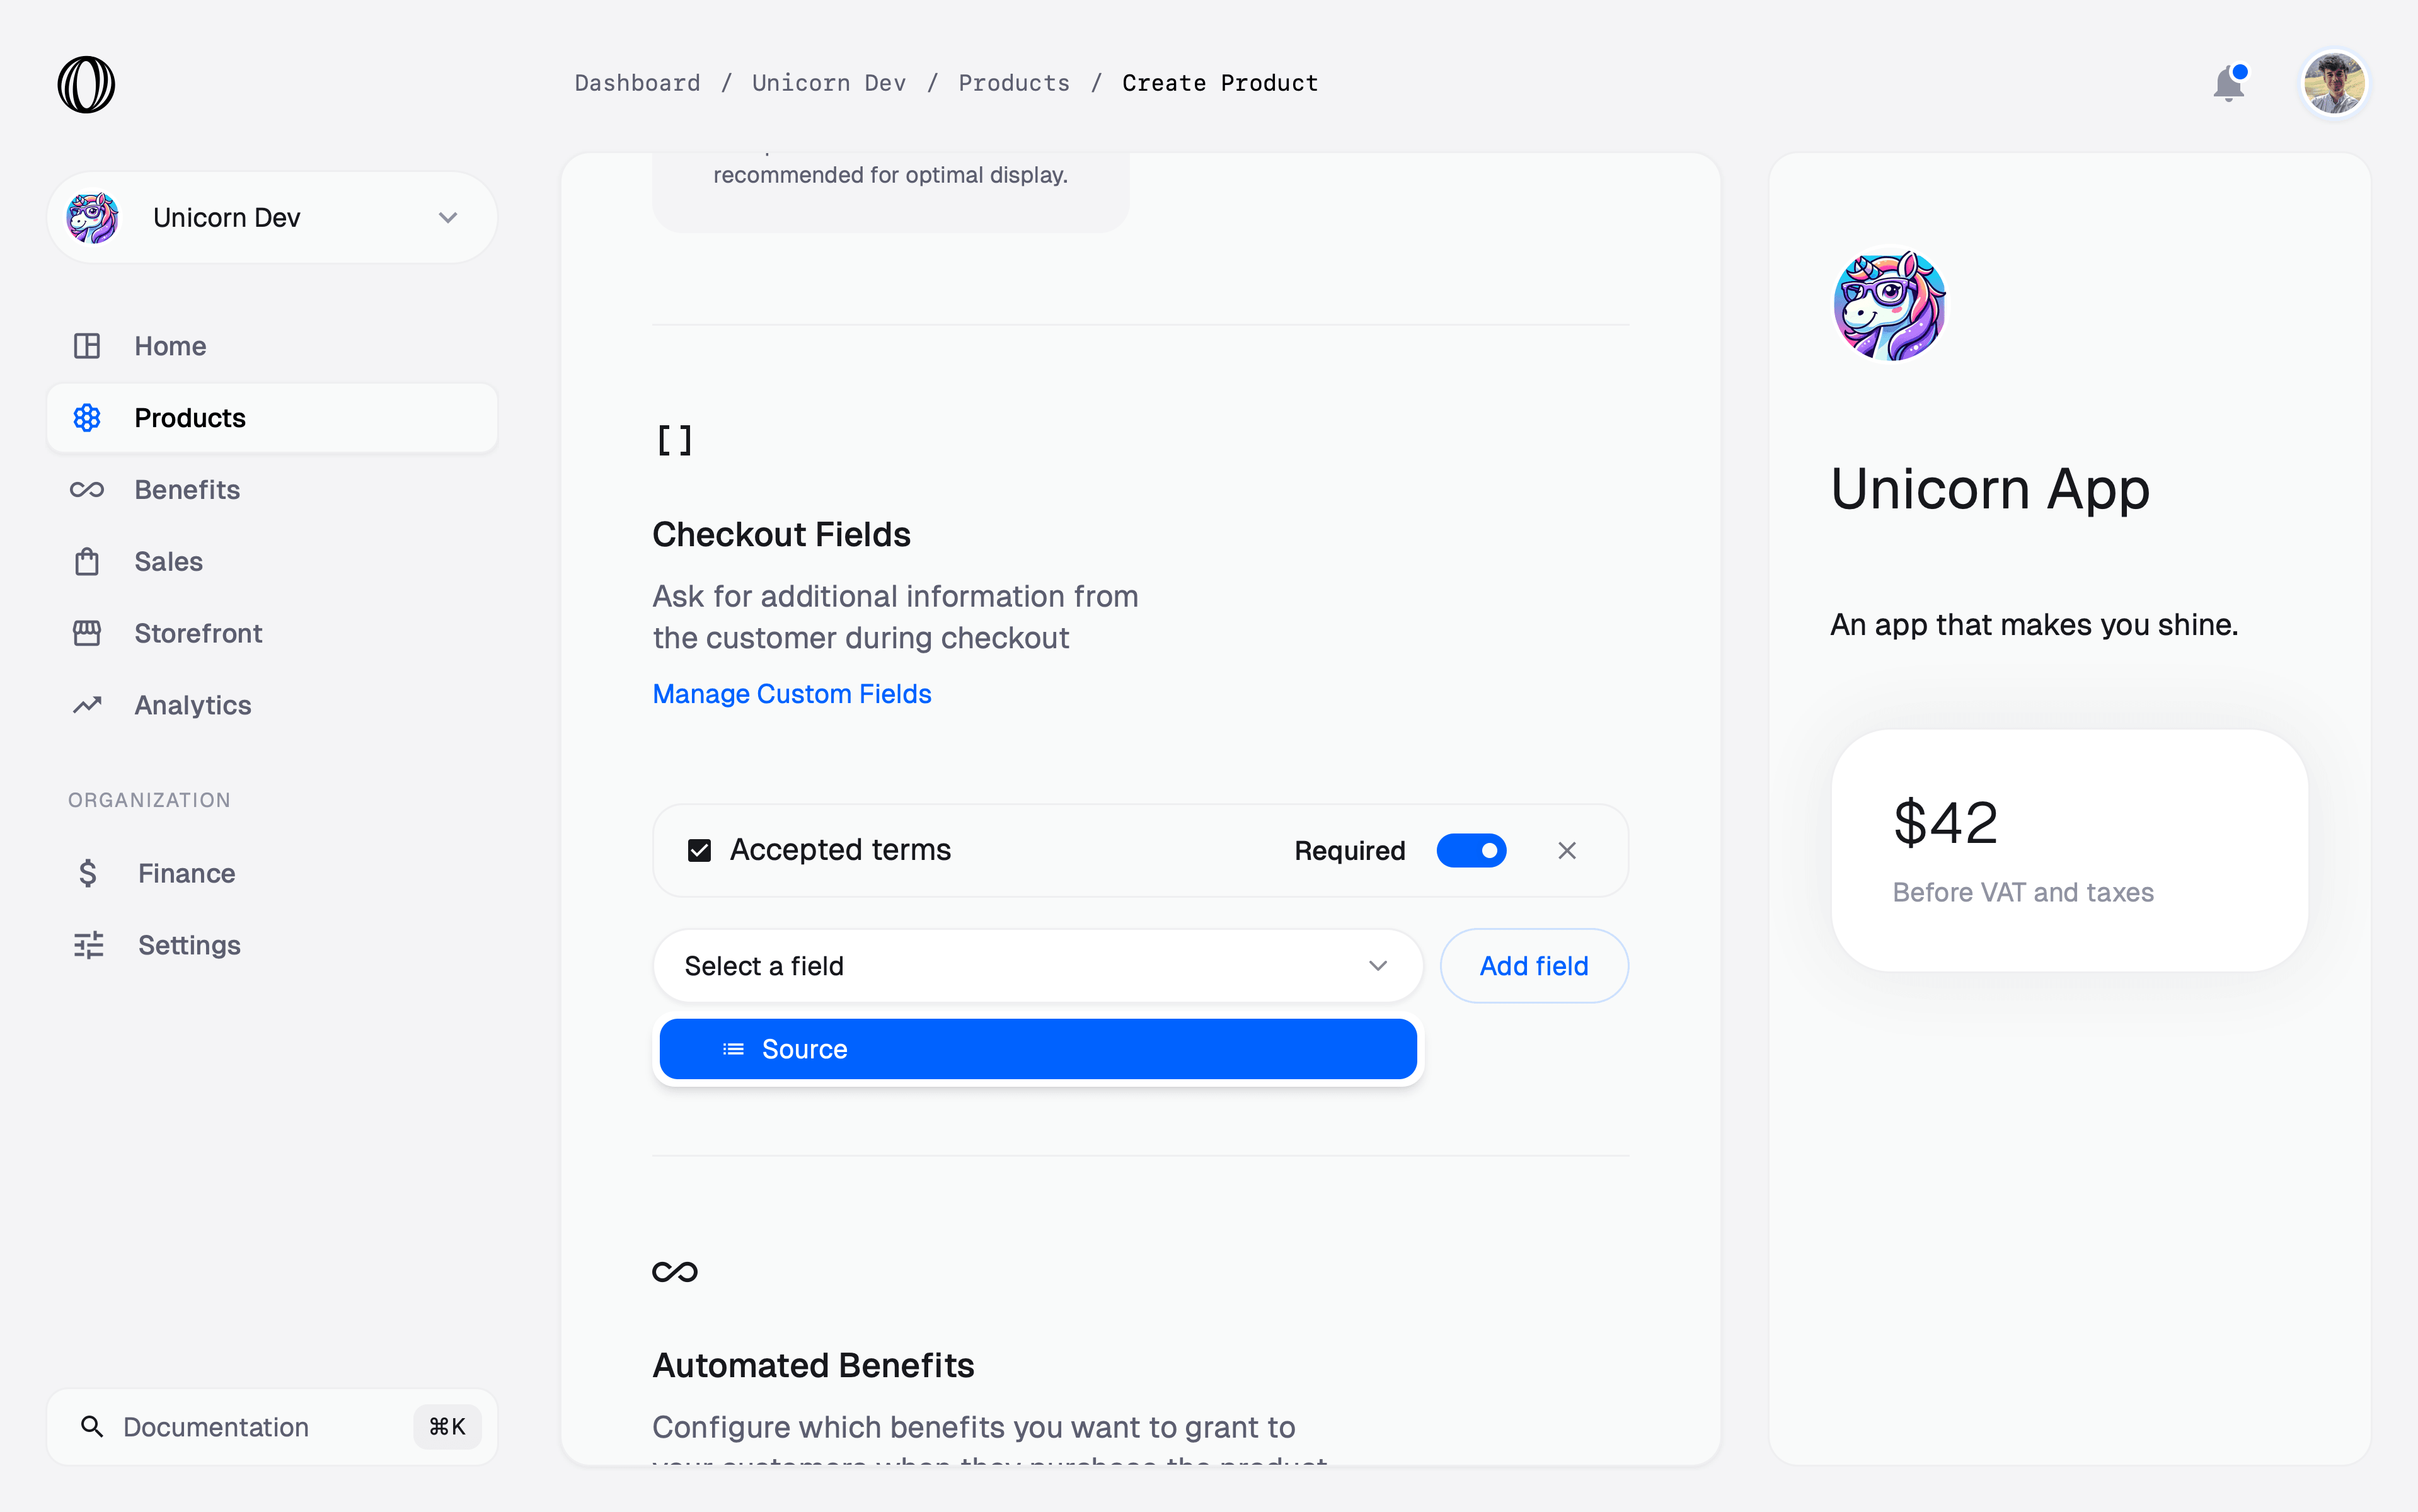
 Note that you can make the field `Required`.
If you make a **checkbox** field **required**, customers will have to check
the box before submitting the checkout. Very useful for terms acceptance!
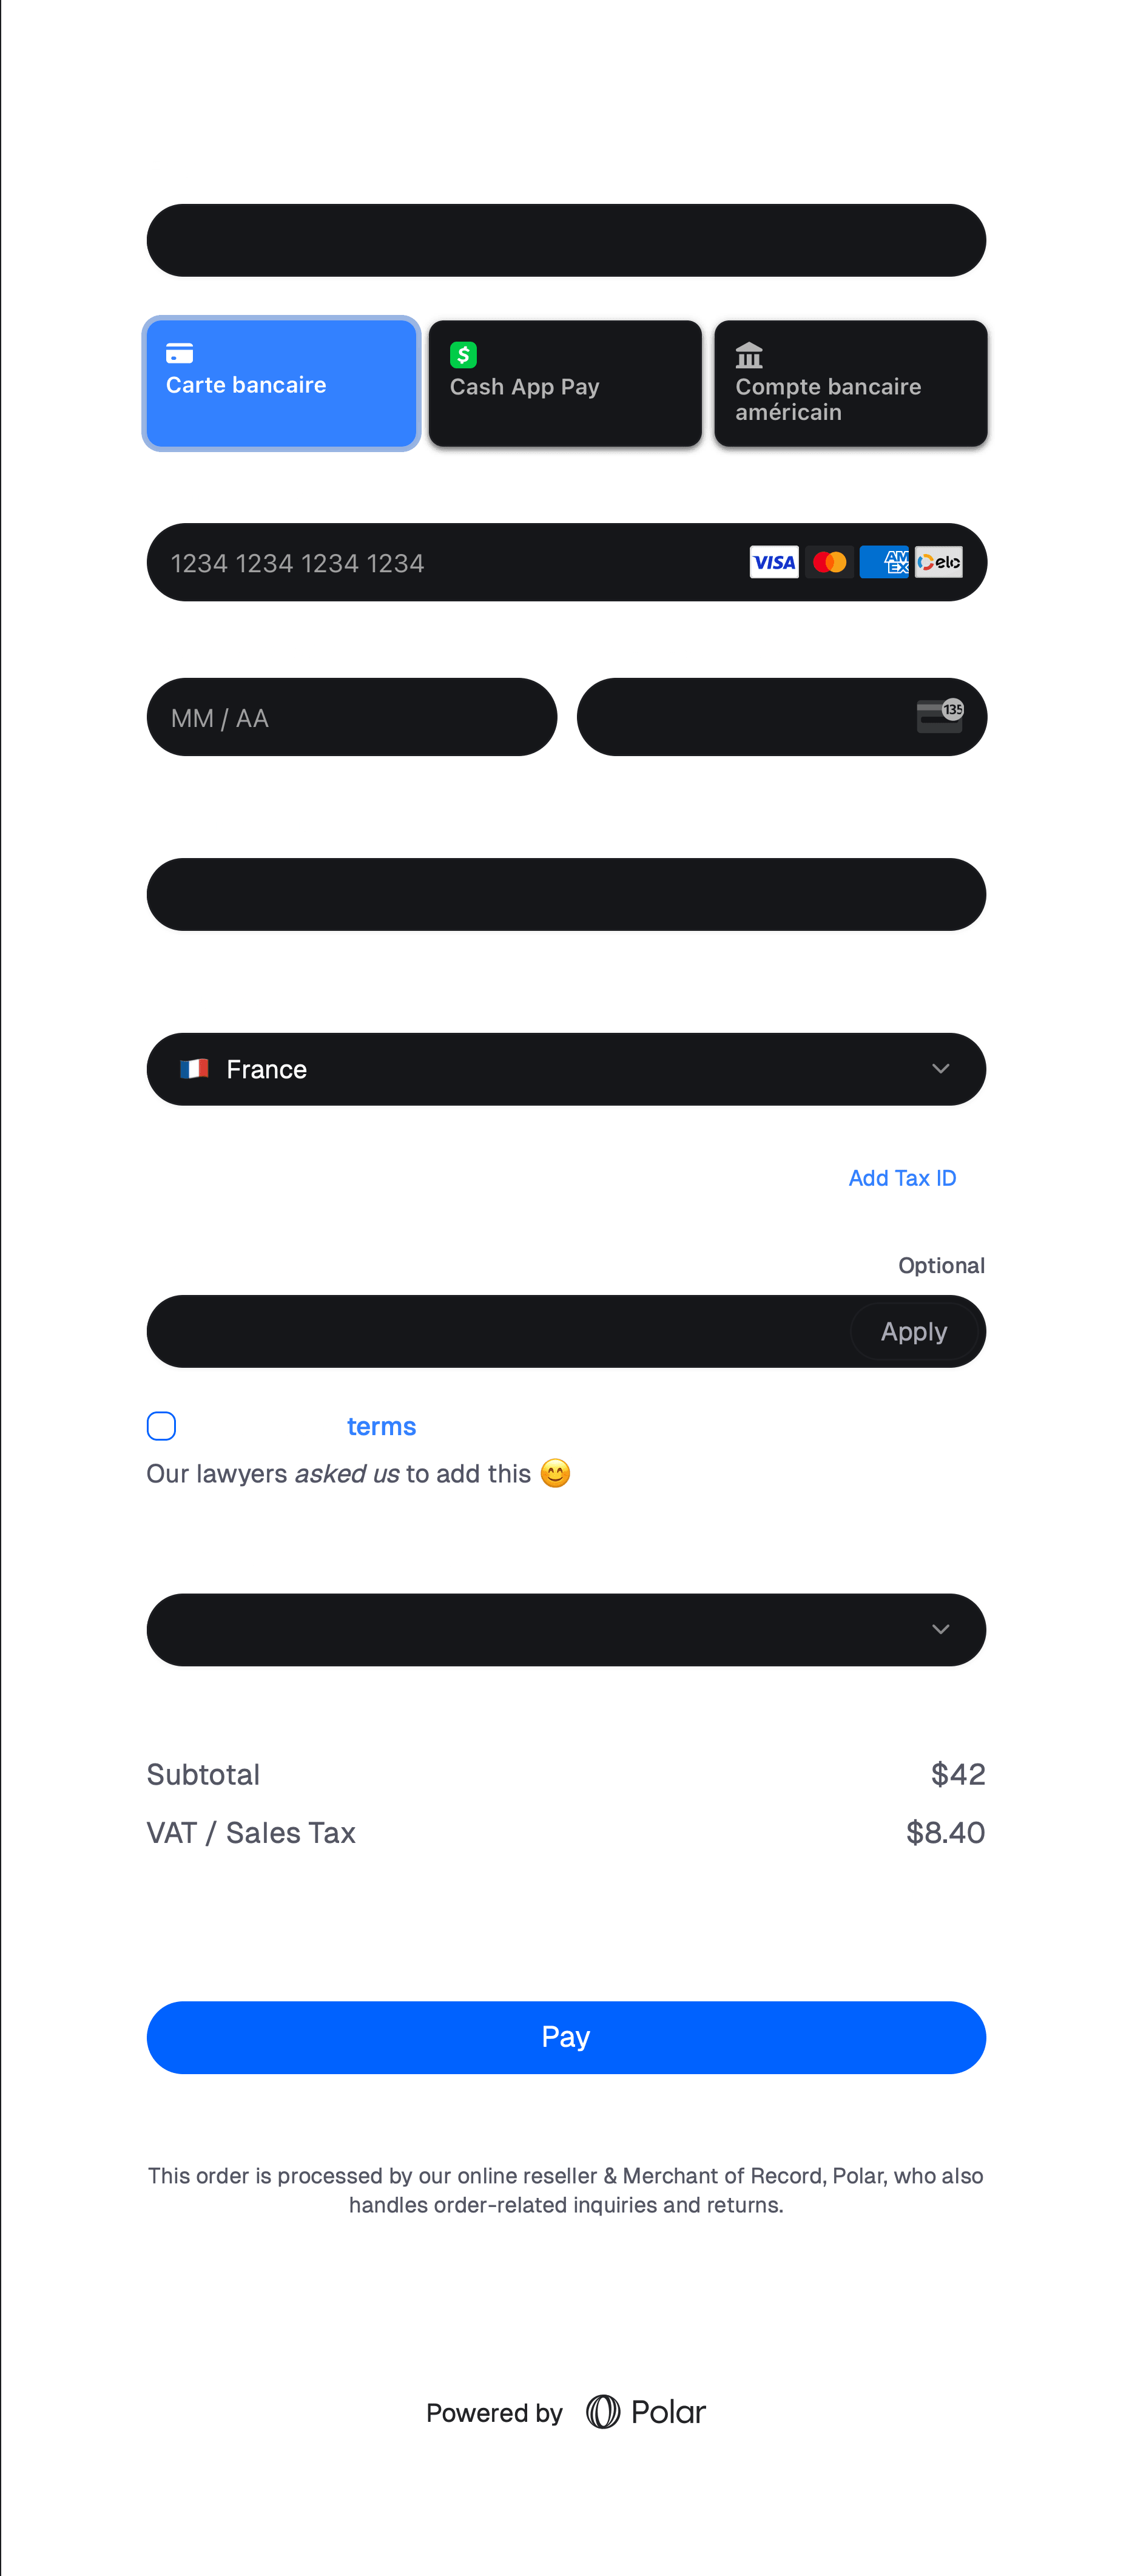
The fields are now added as part of the Checkout form for this product.
Note that you can make the field `Required`.
If you make a **checkbox** field **required**, customers will have to check
the box before submitting the checkout. Very useful for terms acceptance!
The fields are now added as part of the Checkout form for this product.
 ## Read data
Once you have added Custom Fields to your organization, they'll be automatically displayed as a column in your `Sales` page, both on Orders and Subscriptions. From there, you'll be able to see the data input by the customer.
## Read data
Once you have added Custom Fields to your organization, they'll be automatically displayed as a column in your `Sales` page, both on Orders and Subscriptions. From there, you'll be able to see the data input by the customer.
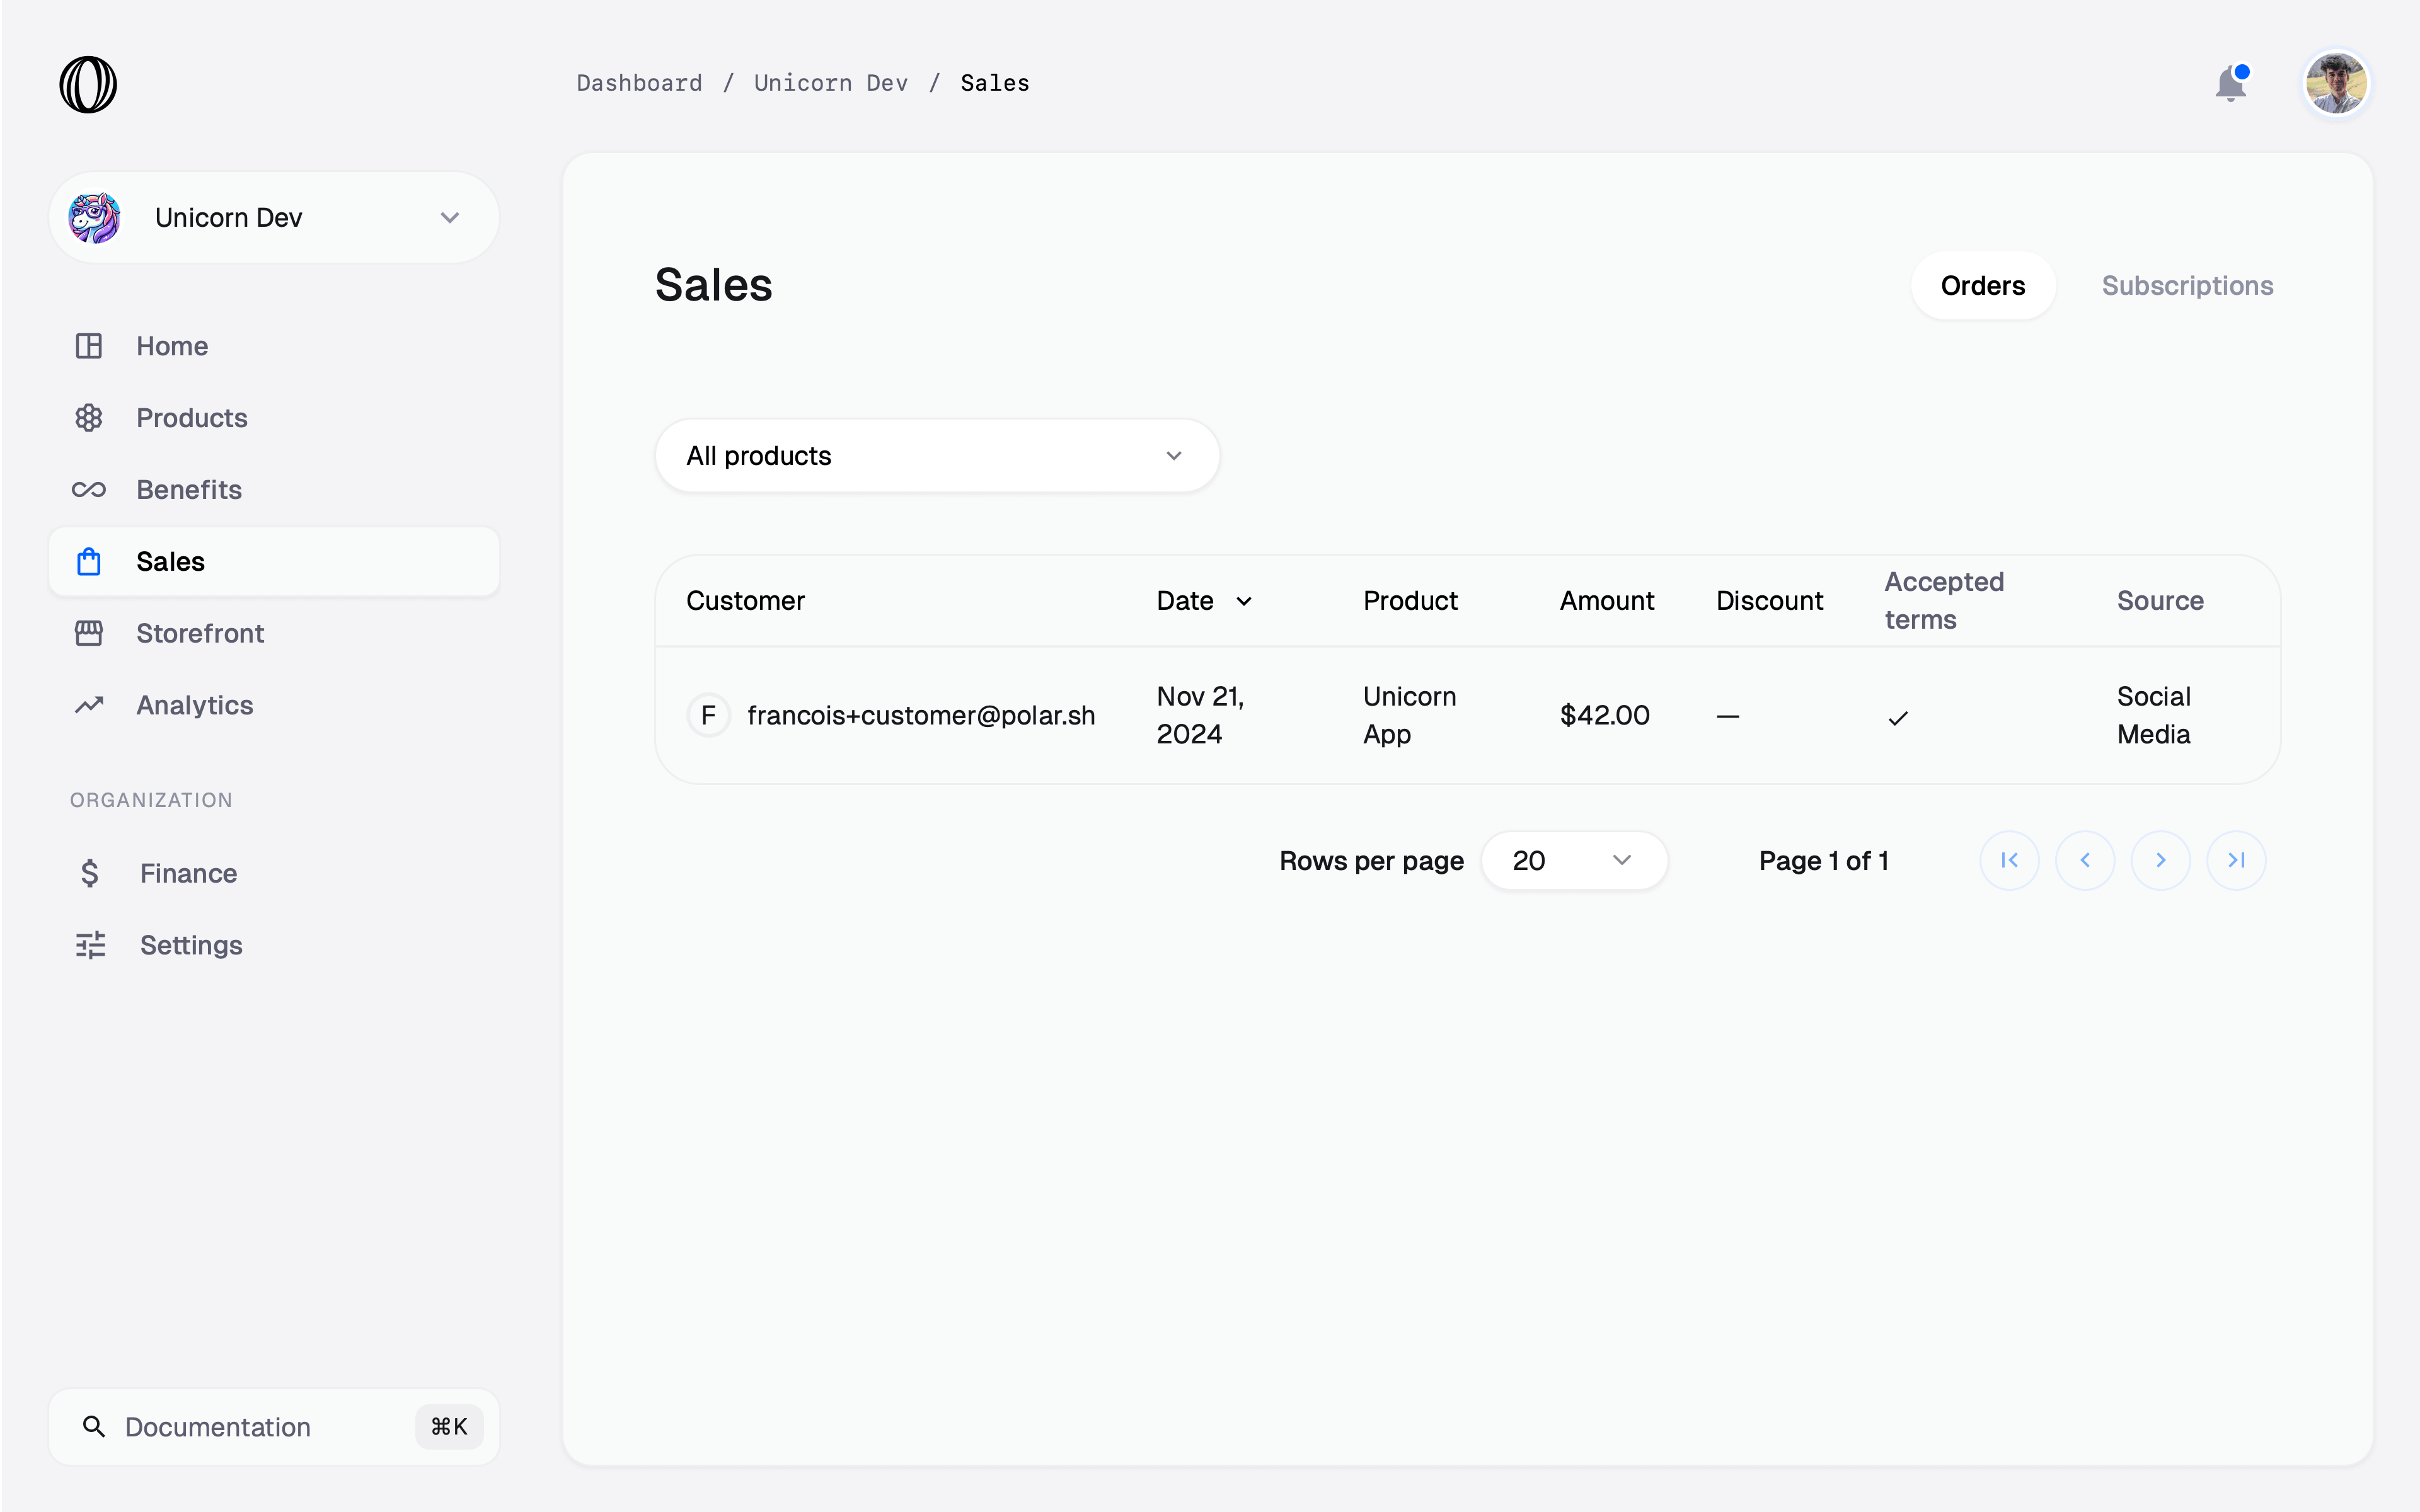
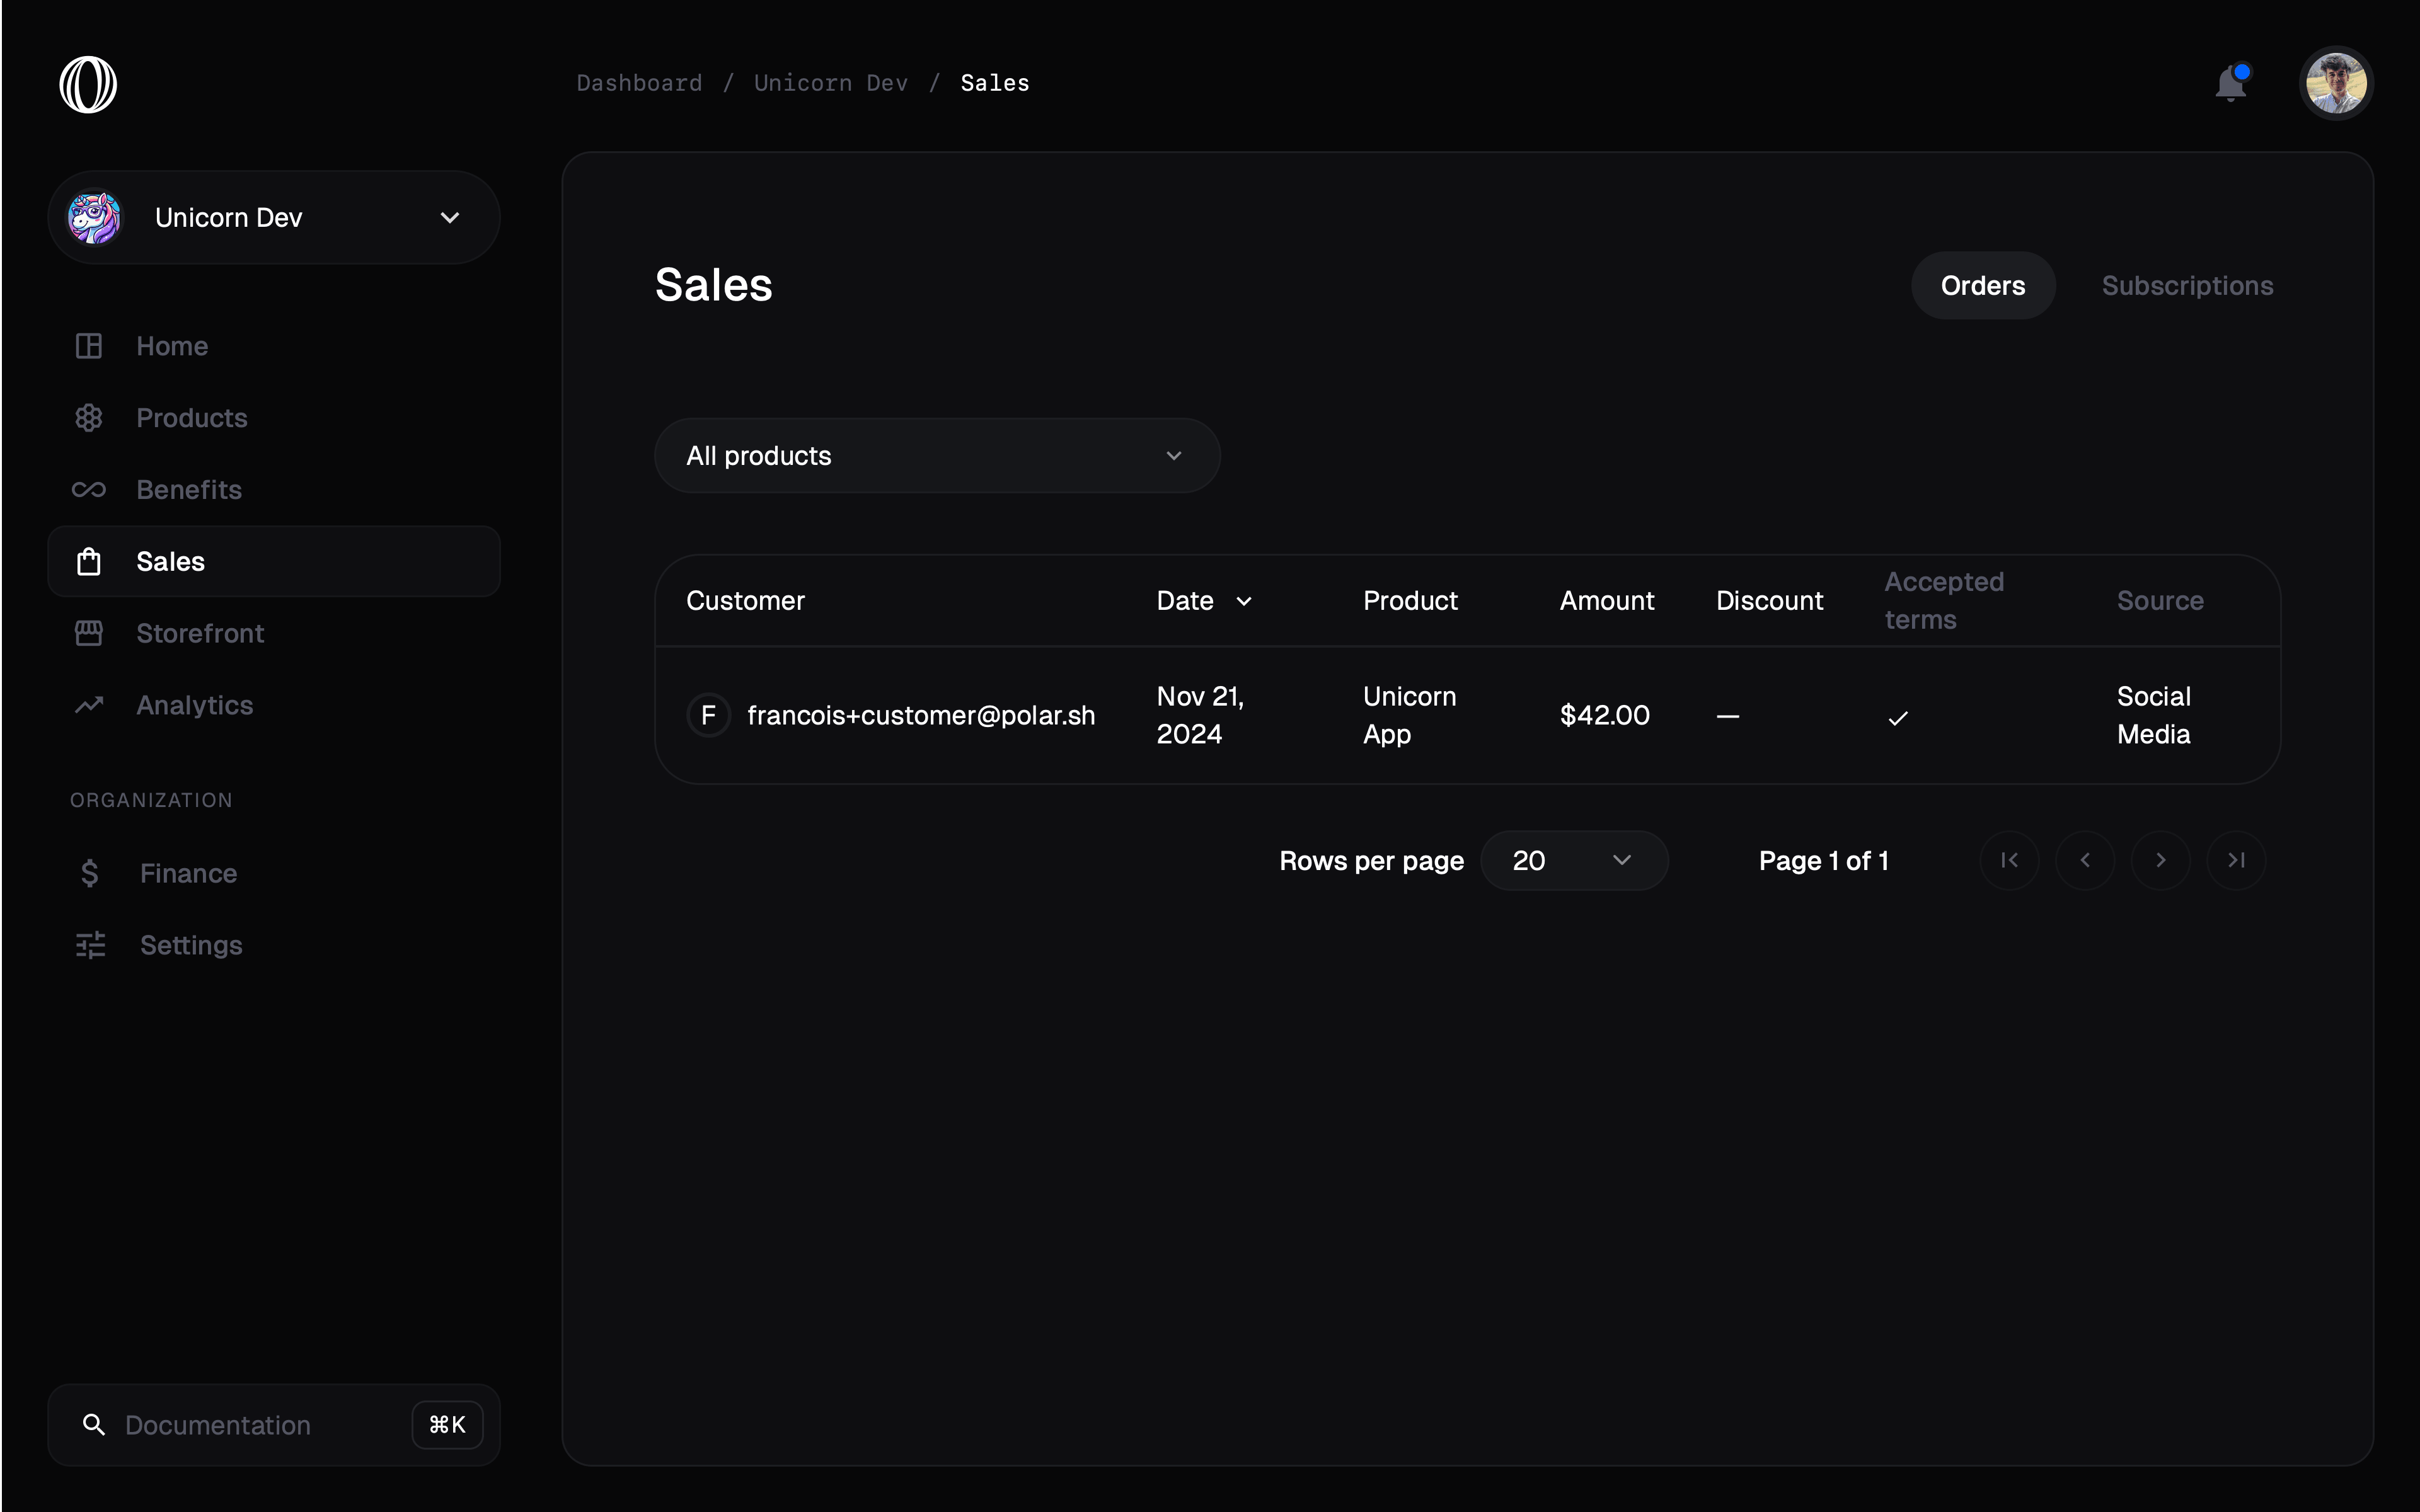 This data is also available from the [Orders](/api-reference/orders/get) and [Subscriptions](/api-reference/subscriptions/get) API, under the `custom_field_data` property. Each value is referenced by the **slug** of the field.
```json theme={null}
{
// ...
"custom_field_value": {
"terms": true,
"source": "social_media"
}
}
```
This data is also available from the [Orders](/api-reference/orders/get) and [Subscriptions](/api-reference/subscriptions/get) API, under the `custom_field_data` property. Each value is referenced by the **slug** of the field.
```json theme={null}
{
// ...
"custom_field_value": {
"terms": true,
"source": "social_media"
}
}
```